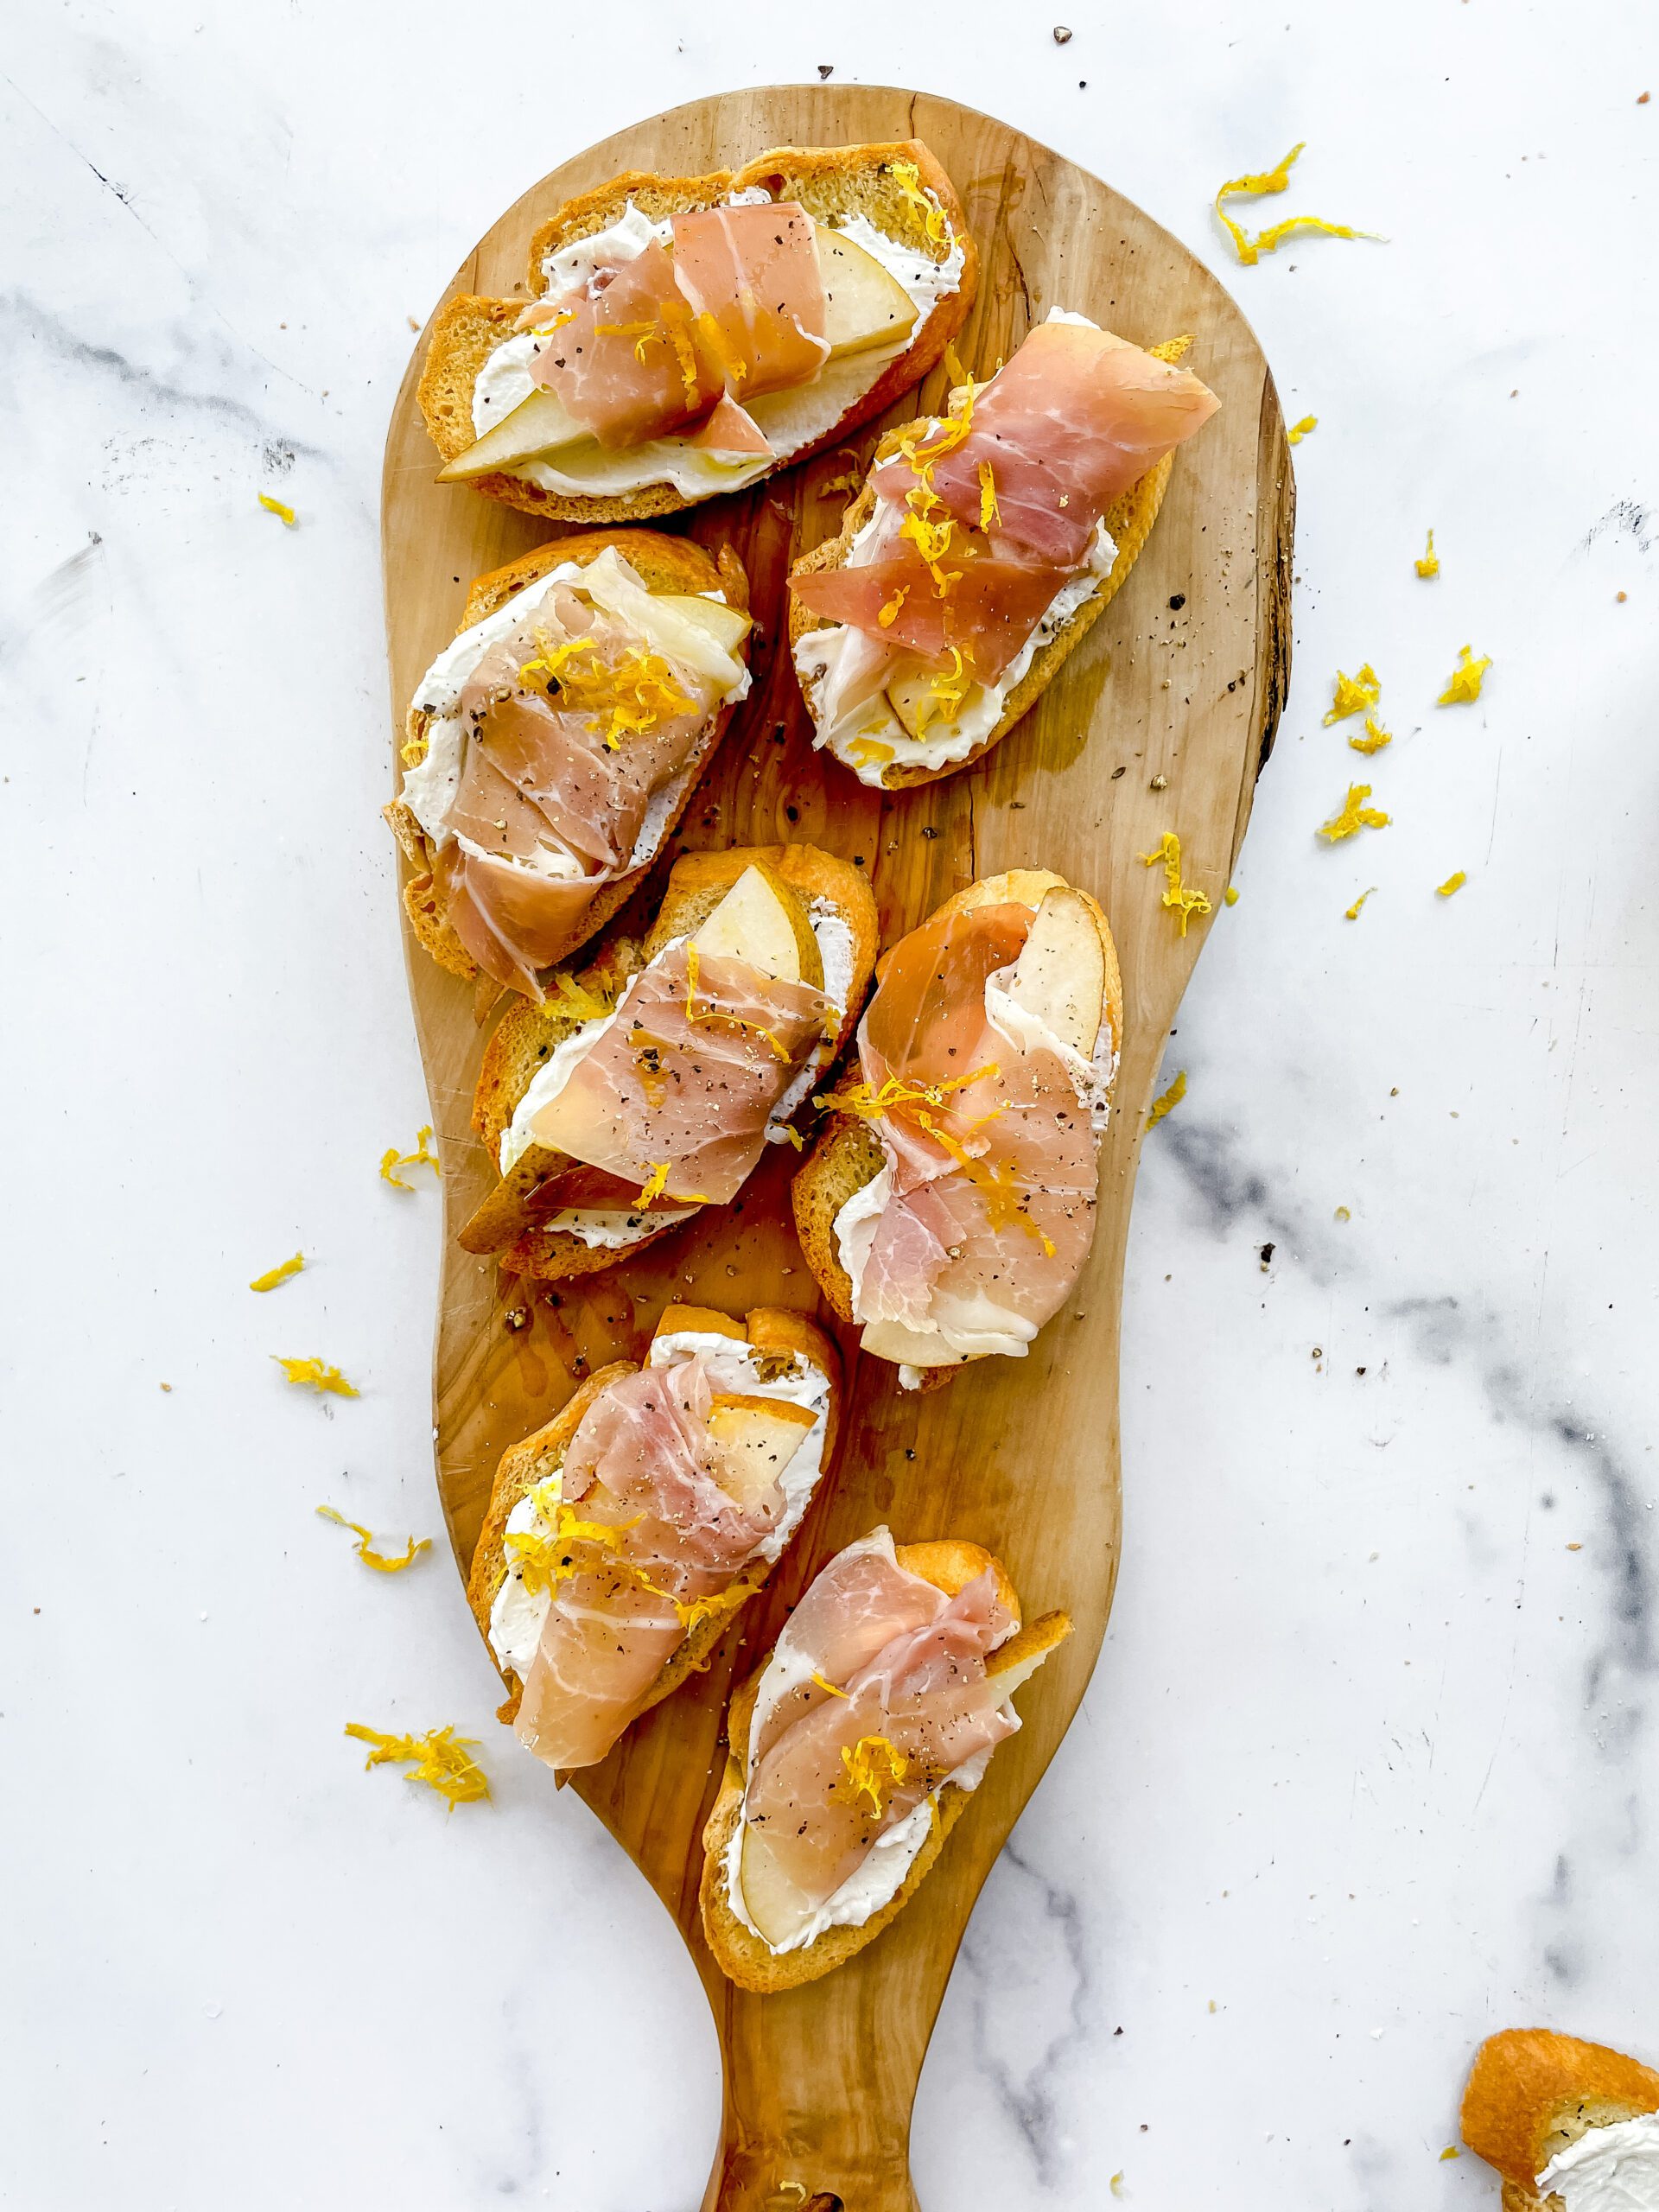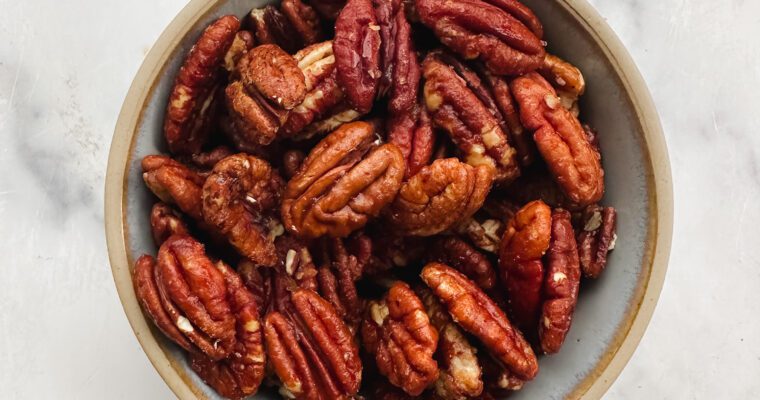
3 Ingredient Miso-Maple Glazed Pecans (Gluten Free, Refined Sugar Free)
My uncle and mother were over for dinner and about halfway through the dish of these pecans, my uncle turned to me and said they were the best nuts he’d ever had. So, I asked him to guess the secret ingredient.. when he finally declared he was stumped, I finally told him it was Miso!