This post may contain affiliate links.

This is a nutella appreciation post. If you like the jarred stuff, homemade will knock your socks off.
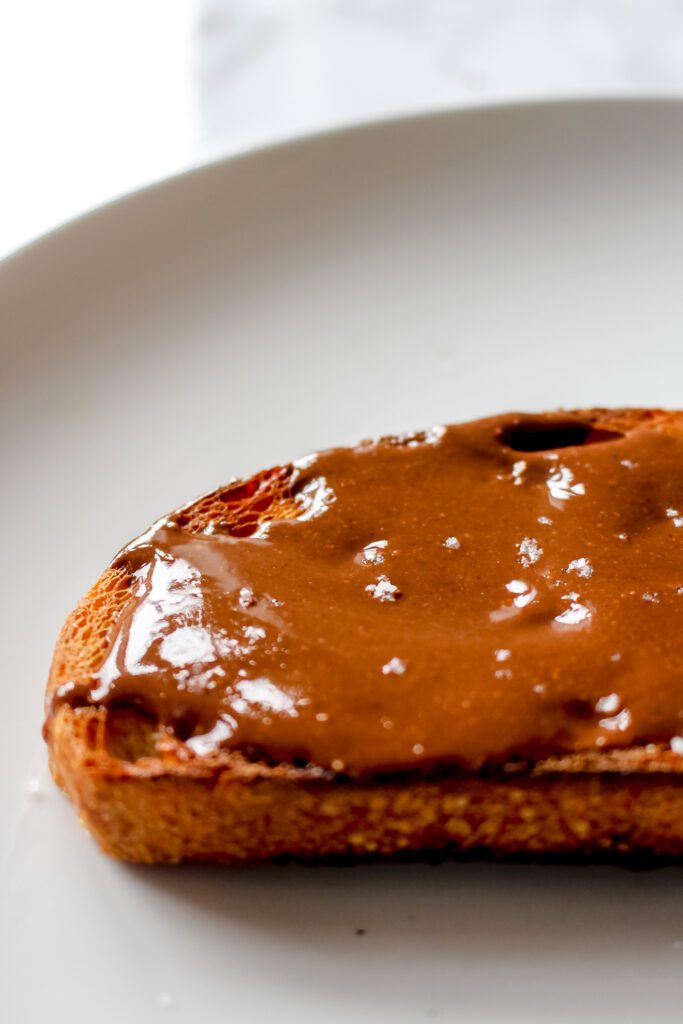
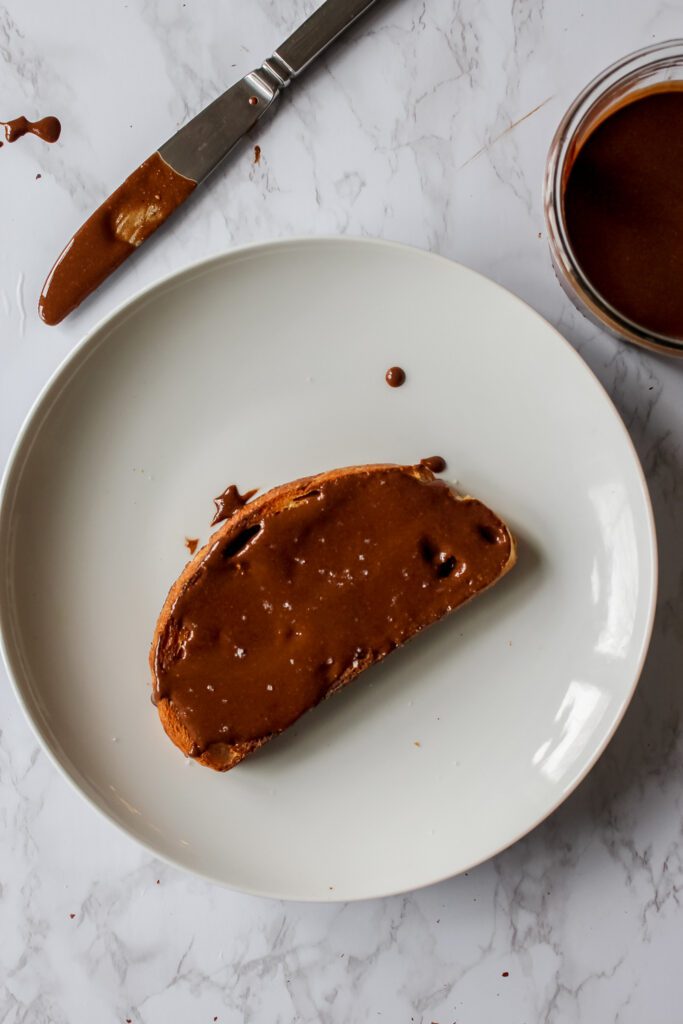
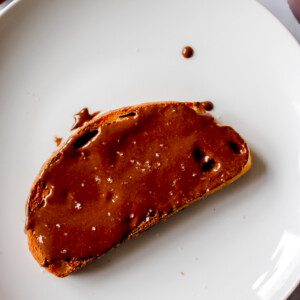
Nutella is great on everything from toast, fresh fruit, and yogurt to pancakes and waffles. Truth be told, however, I prefer it right off the spoon. There’s just nothing like that sweet, creamy, nutty taste.
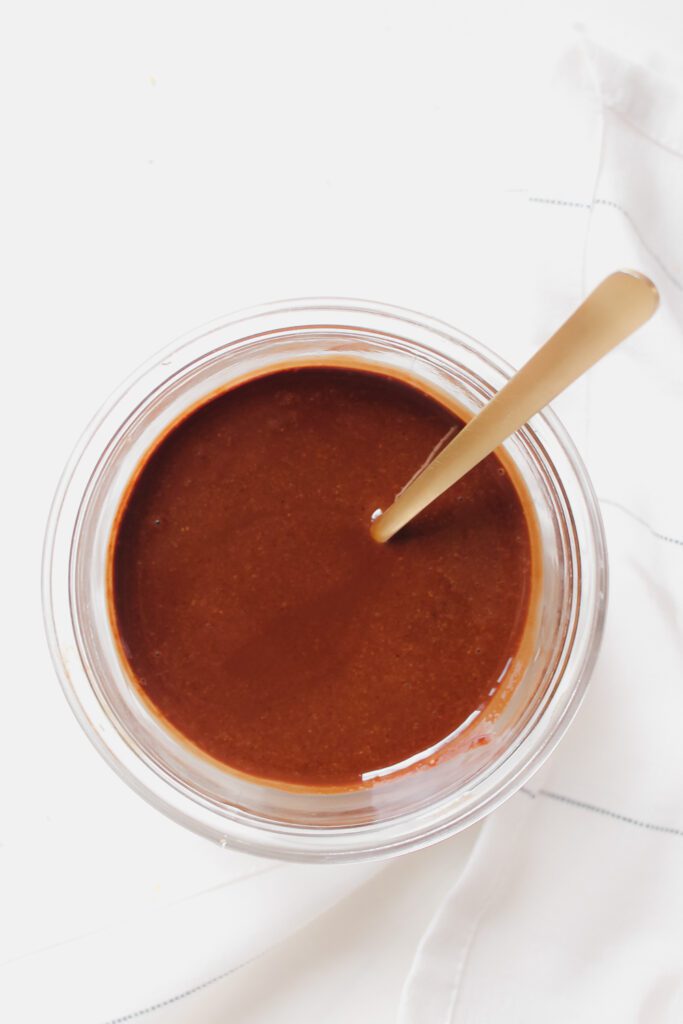
The most important thing about this nutella is to blend the hazelnuts for long enough to get them super smooth. When you begin blending, it will seem like it won’t come together, but it will. Just keep on blending.
Table of Contents
What else can I use?
- Both chocolate chips or broken chocolate bars will work here, anything that melts well.
- If you prefer milk chocolate, you could use that instead of dark though it will be quite a bit sweeter than it already is.
- If you don’t have a food processor, you could make this in a blender, as long as it’s quite powerful (such as this one or this one).
I have no doubt that you will love this nutella just as much, if not more, than the store-bought version. Knowing you made it yourself feels pretty darn good too. Bon app!
Healthier Homemade Nutella
Equipment
- Food processor or high-speed blender
Ingredients
- 3 cups raw hazelnuts
- 3/4 cup dark chocolate, melted
- 1 tsp pure vanilla extract
- 1/4 tsp Kosher salt
Instructions
- Preheat the oven to 350 degrees F.
- Lay hazelnuts in an even layer on a large sheet pan and roast for 10-15 minutes.
- Let the hazelnuts cool to the touch, then transfer them to a kitchen towel.
- Fold the kitchen towel over the hazelnuts and rub them back and forth with the towel until most of the skins have come off. You may only remove half to three quarters of them, that's okay, but the more that come off the smoother the nutella will be.
- Place the hazelnuts in the bowl of a food processor and blend for 5-6 minutes, scraping down the sides as necessary, until you have a creamy hazelnut butter. Taste it, it should be smooth.
- Add the vanilla, melted chocolate, and salt and blend for another minute until fully incorporated.
- Store in lidded jars at room temperature for 2-3 weeks.
Nutrition
Nutrition information is automatically calculated, so should only be used as an approximation.

I’ve been on a real home-made kick and this recipe SLAPS!
Thank you, Chantelle!!
Enjoy,
Kat.