
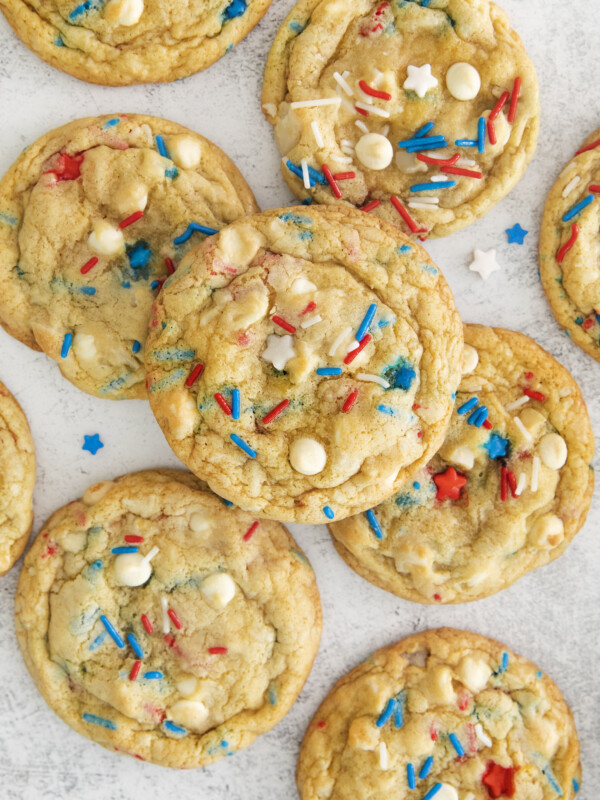
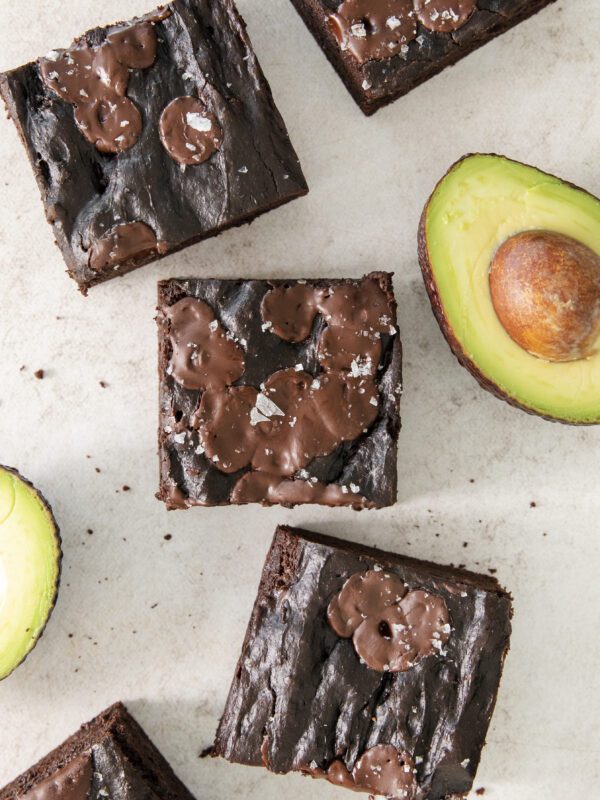
Baking
Firework Cookies


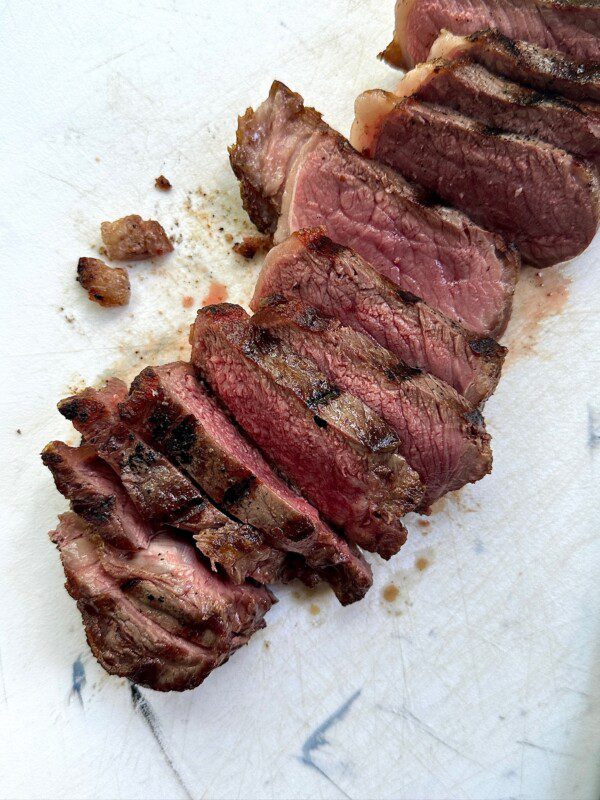
Beef & Pork
Savory Steak Marinade
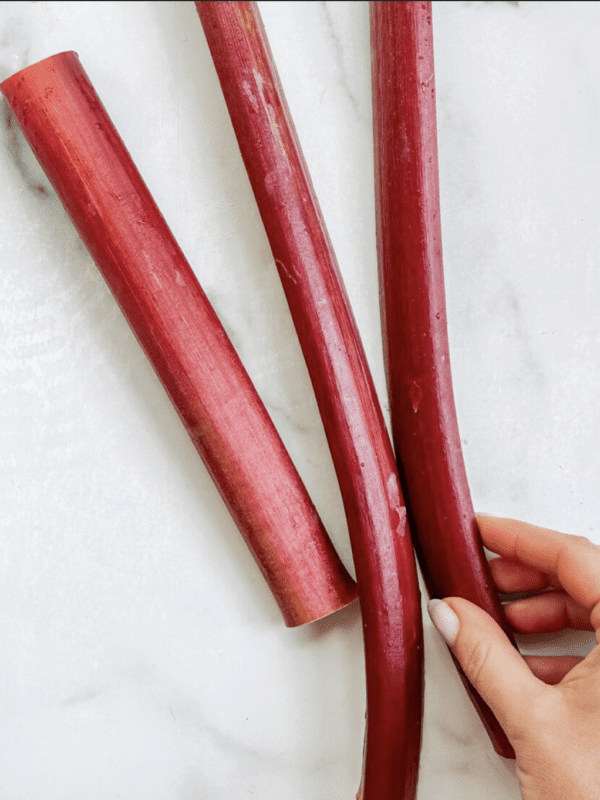
Uncategorized
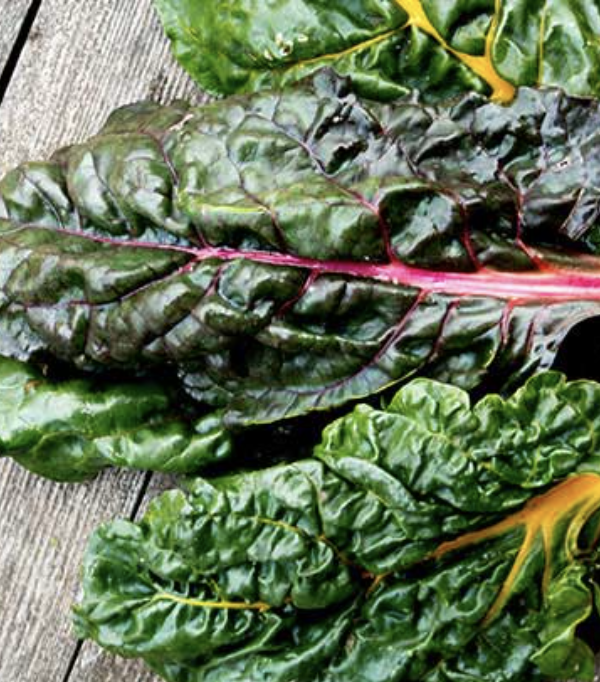
Swiss Chard: Farmers Market Produce Guide
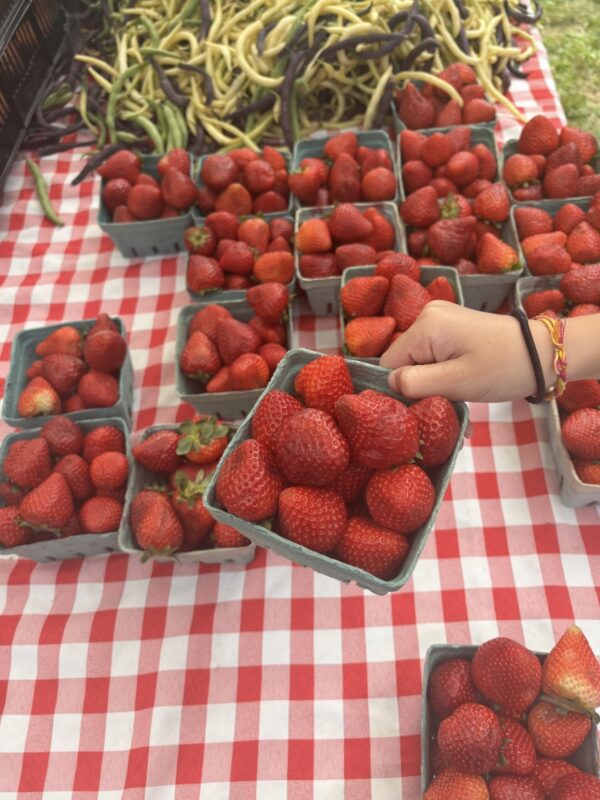
Uncategorized
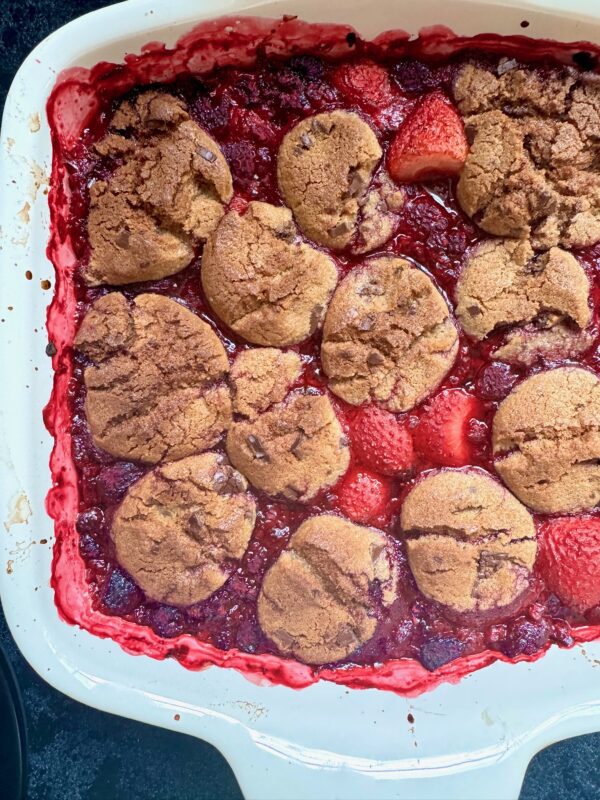
Viral Berry Cobbler
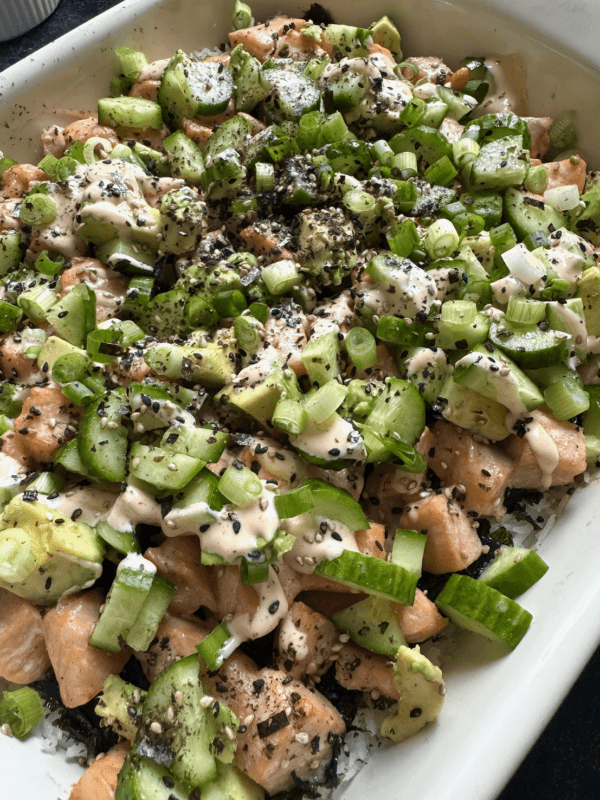
Uncategorized
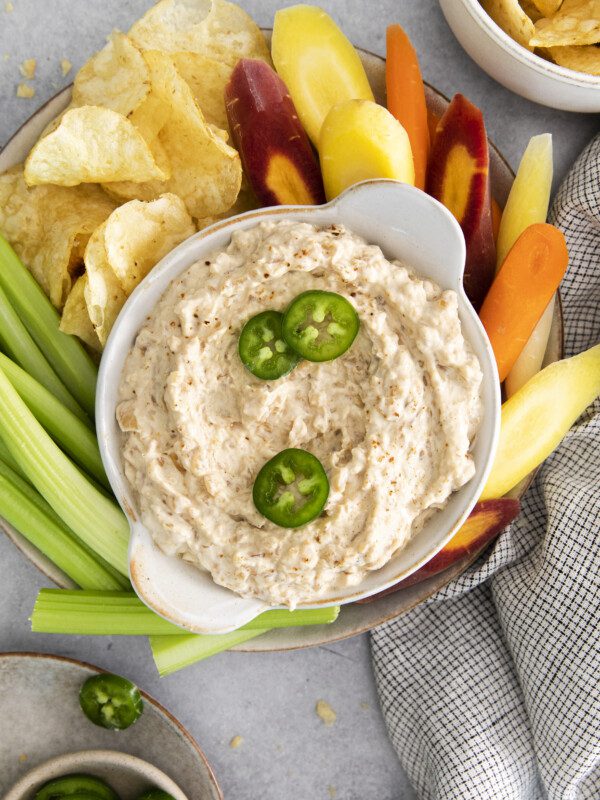
Viral Salmon Sushi Bake
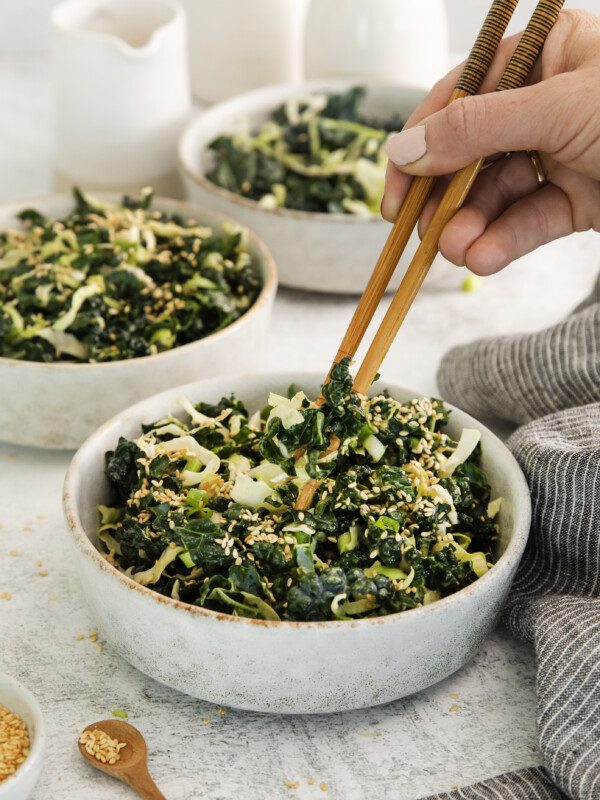
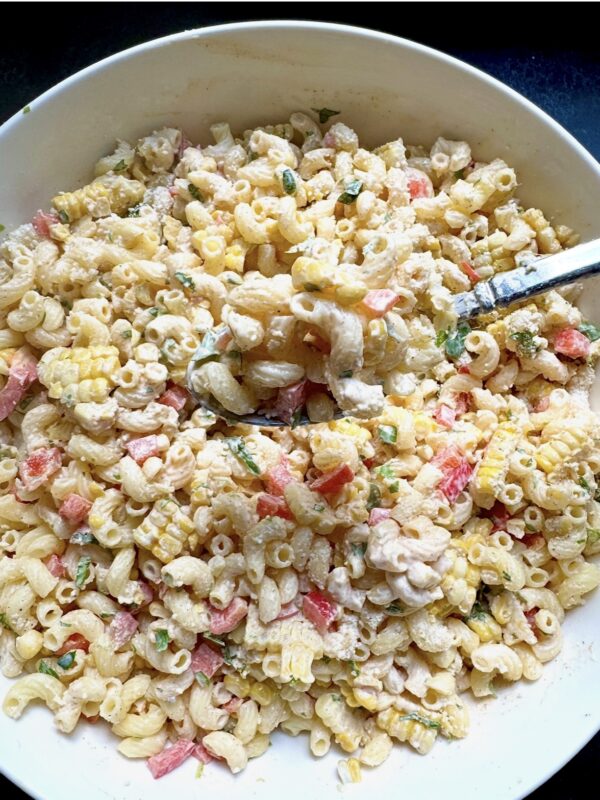
Salads
Miso Sesame Kale Salad
Baking
Order the NYT Bestseller, Big Bites: Time to Eat!
Baking
Beef & Pork
Uncategorized
Uncategorized
Uncategorized
Salads
Baking