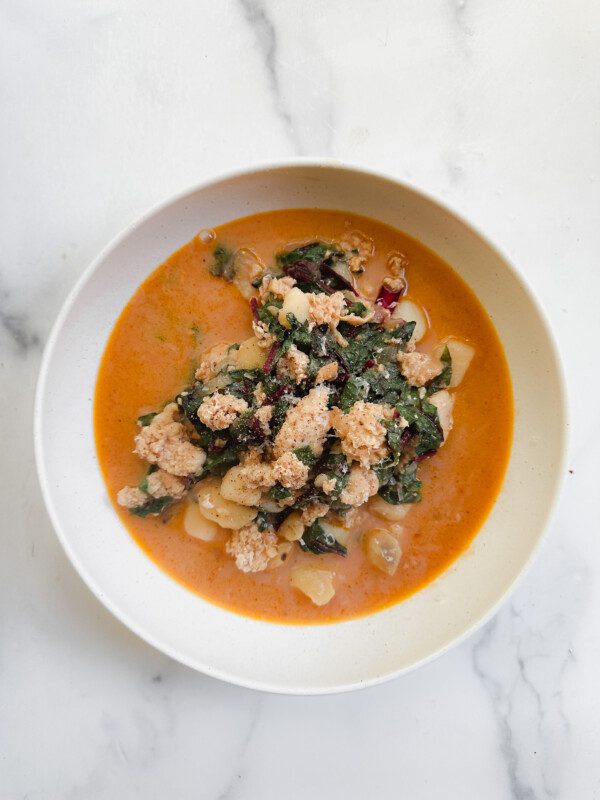
Breakfast
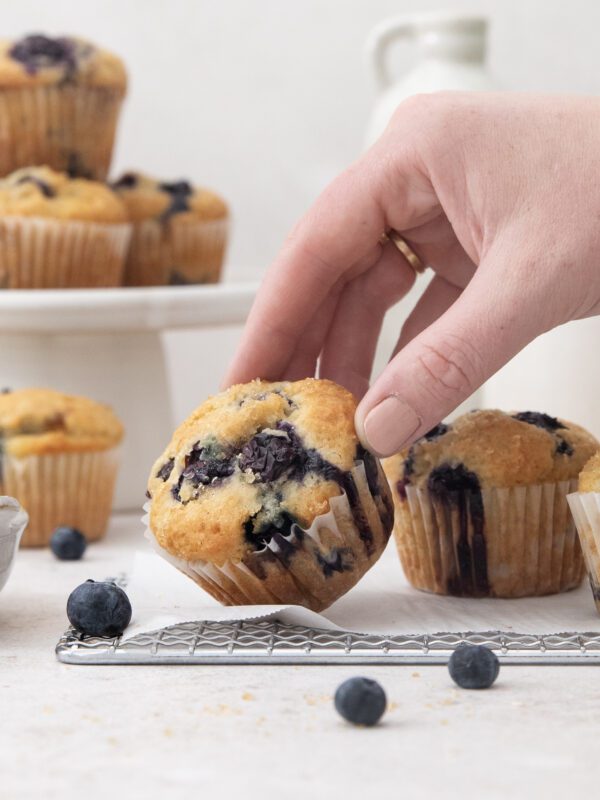
My Favorite Blueberry Muffins

Salads
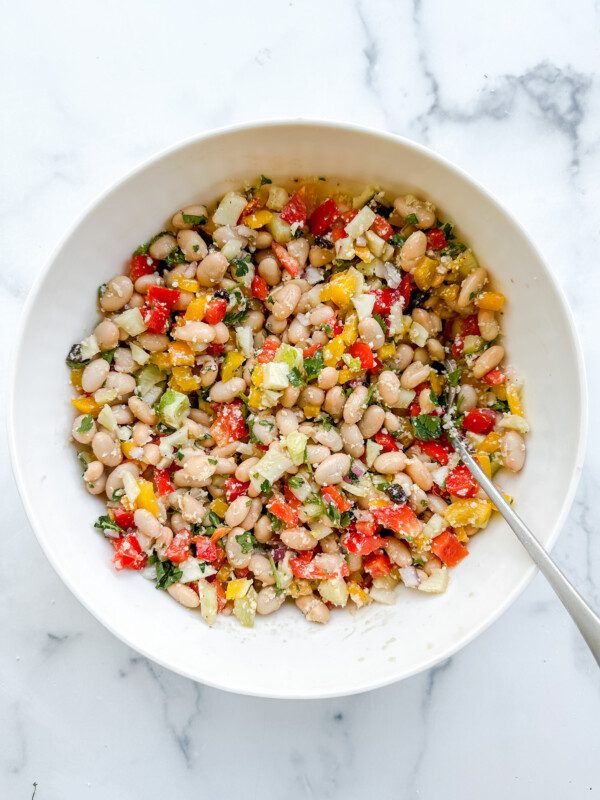
Rainbow White Bean Salad


Cookies & Bars
Peppermint Bark Cookies
Cookies & Bars
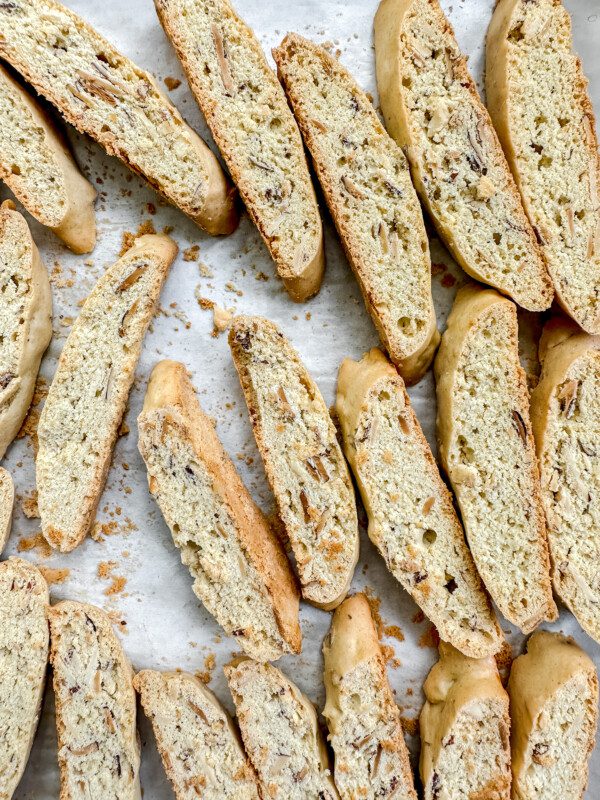
Gluten-Free Vanilla Almond Biscotti

Thanksgiving
Cranberry Relish
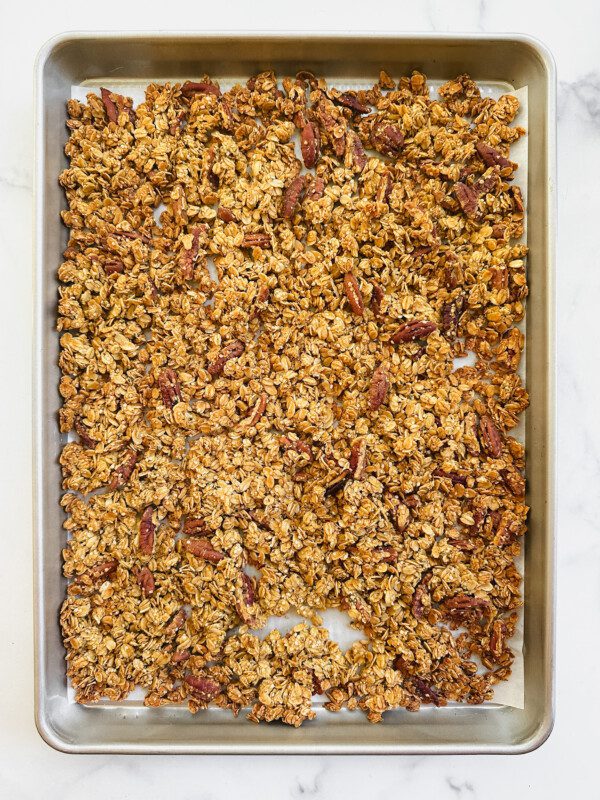
Breakfast
Order the NYT Bestseller, Big Bites: Time to Eat!
Breakfast
Salads
Cookies & Bars
Cookies & Bars
Thanksgiving
Breakfast