This post may contain affiliate links.

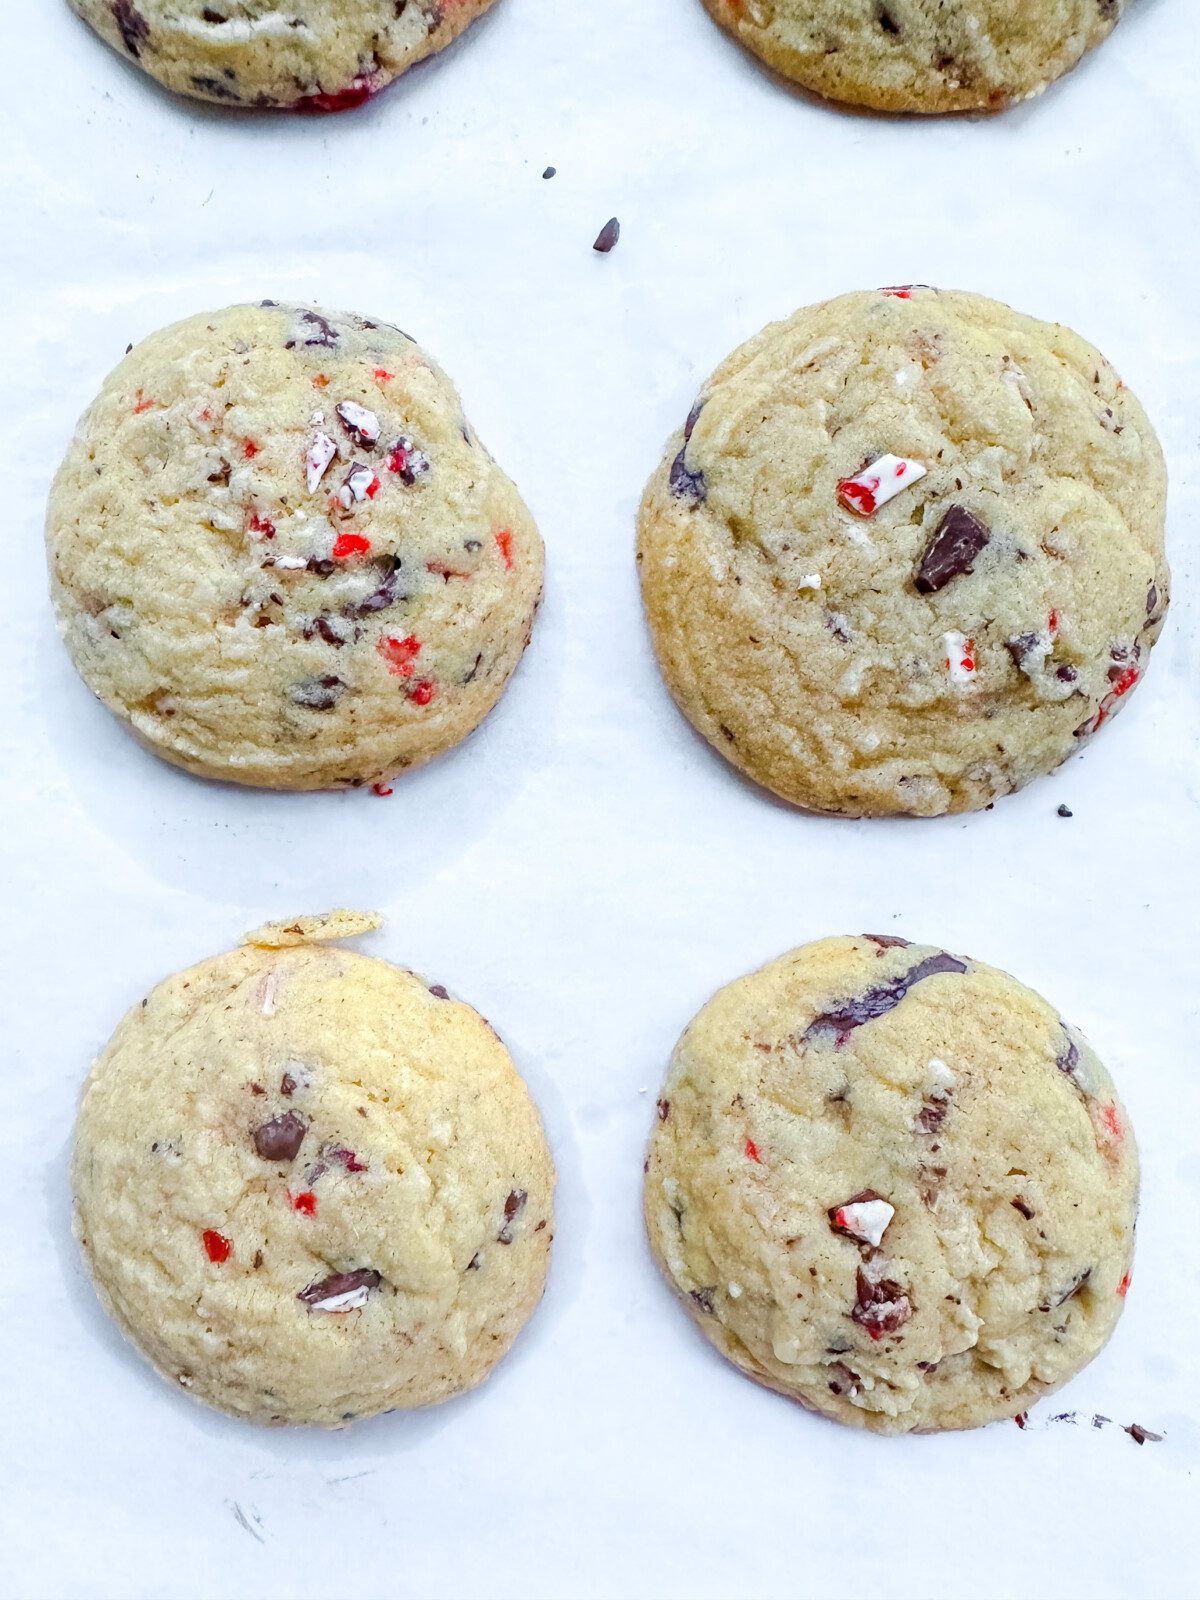
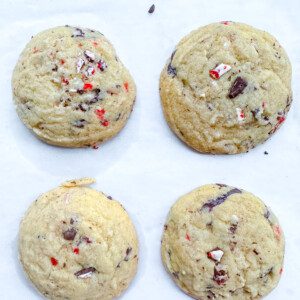
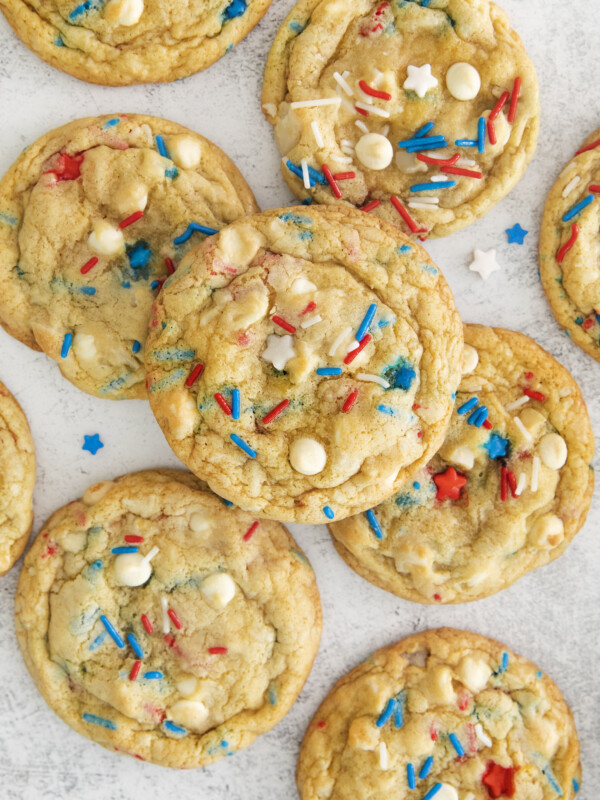
If there is one cookie you make of mine this holiday season, it should be these Peppermint Bark Cookies. My 7-year-old son, William, declared these “the best cookies I’ve had in my life so far,” and since he has me as his mother, you can imagine how many cookies he’s eaten in his little life. They’re crispy on the outside, chewy on the inside, gluten-free and dairy-free if you want them to be!
😍 Why You’ll Love My Peppermint Bark Cookies
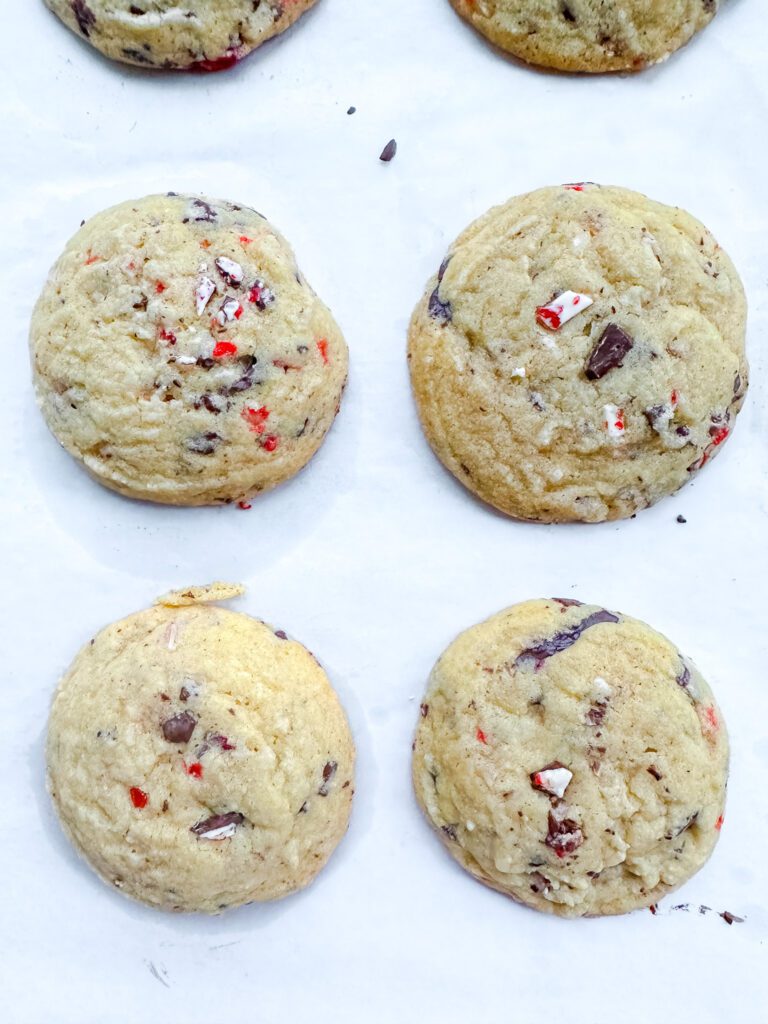
You’ll love these Peppermint Bark Cookies because they bring the best of both worlds: a crisp, golden exterior and a soft, chewy center that’s pure holiday magic. Not only are they a deliciously festive treat, but they’re also versatile – easily made gluten-free and dairy-free if that’s what you need. The chopped peppermint bark adds the perfect touch of holiday flavor, with a bit of crunch and a burst of minty sweetness in every bite. Whether you’re baking for a crowd or just indulging yourself, these cookies are a cozy, crowd-pleasing way to make your season a little sweeter.
🗒️ Ingredients
Unsalted butter: Adds richness and that perfect melt-in-your-mouth texture.
Granulated sugar: Sweetens the dough for a delicate, crisp exterior.
Light brown sugar: Deepens the flavor with a hint of caramel-like sweetness.
Egg: Binds the dough together and helps create that chewy center.
Vanilla extract: Enhances the sweetness and adds a warm, aromatic note.
Gluten-free all-purpose flour: Keeps the cookies soft and chewy while ensuring they’re gluten-free.
Baking soda: Helps the cookies spread and rise, creating a light texture.
Kosher salt: Balances the sweetness and enhances the other flavors.
Peppermint bark: Adds a festive, minty crunch with a touch of chocolatey goodness.

👩🍳 How to Make My Peppermint Bark Cookies
In the bowl of a stand mixer, beat the butter and sugars on medium speed for about 2 minutes until the mixture is light and fluffy.
Add the egg and vanilla extract, mixing for another 30 seconds until everything is well combined.
Add the gluten-free flour, baking soda, and salt to the bowl, mixing on low until just combined.Gently fold in the chopped peppermint bark using a spatula.
Cover the bowl and refrigerate the dough for at least 30 minutes (up to 60 minutes if you have the time).
Line two baking sheets with parchment paper and preheat your oven to 350°F.
Use a medium-sized cookie scoop (about 2 tablespoons) to portion out the dough onto the baking sheets, leaving 3 inches between each scoop to allow for spreading.
Bake for 12-14 minutes, or until the edges are lightly browned and the centers are still soft.
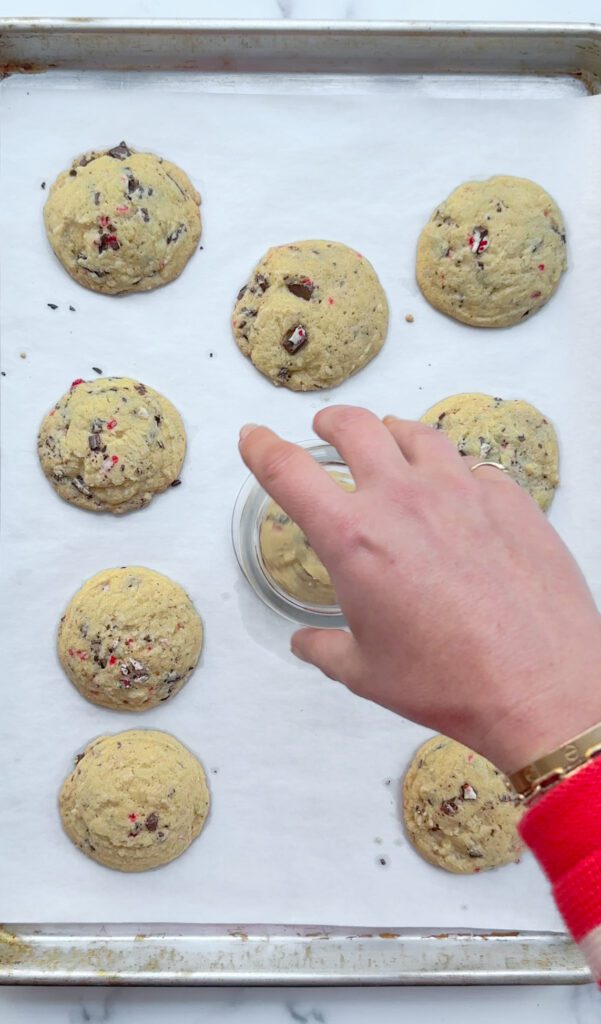
For perfect, round cookies, place the mouth of a drinking glass over each one while they’re still warm and gently swirl to shape them.
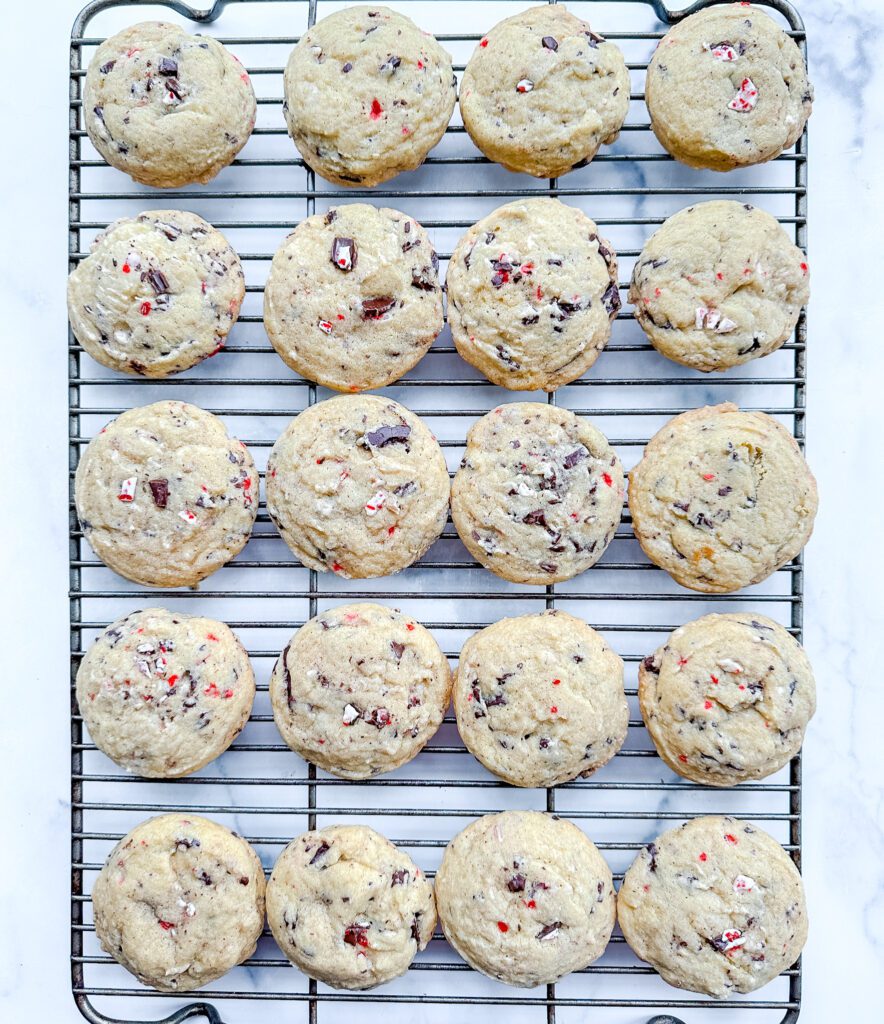
Let the cookies cool on the baking sheet for 10 minutes before transferring them to a cooling rack to finish cooling.
Serve warm, or store for later!

A Baker’s Note 👩🏻🍳
These cookies do spread, so if your butter is on the warm side (or your kitchen for that matter) feel free to chill for longer than the 30 minutes indicated in the recipe – 30-60 minutes does the trick for me.
🌟 Variations
Mint Chocolate Chip: Swap out the peppermint bark for mint chocolate chips for a more intense mint flavor.
White Chocolate Peppermint: Use white chocolate chips instead of the peppermint bark for a smooth and creamy contrast to the mint.
Dark Chocolate Drizzle: After baking, drizzle melted dark chocolate over the cooled cookies for an extra touch of richness.
Candy Cane Crunch: Replace peppermint bark with crushed candy canes for a more pronounced crunch and festive appearance.
Peanut Butter Twist: Add a couple of tablespoons of peanut butter to the dough for a sweet and salty twist.
Double Chocolate Peppermint: Mix in some cocoa powder to the dough for a chocolatey base, and then add peppermint bark for a double chocolate peppermint treat.
🤲 Substitutions
- Butter: Use vegan butter for a dairy-free option, or coconut oil for a dairy-free and slightly tropical flavor.
- Sugar: Coconut sugar or maple sugar can be swapped for the granulated and brown sugars for a more natural, less refined option.
- Egg: Replace with a flax egg (1 tablespoon ground flaxseed mixed with 2.5 tablespoons water, let sit for 5 minutes to thicken) for a vegan version.
- Vanilla Extract: Almond extract or peppermint extract can be used instead for a different twist.
- Gluten-Free Flour: If you don’t need gluten-free, you can use regular all-purpose flour.
- Peppermint Bark: Use a mix of chocolate chips and crushed candy canes if you can’t find peppermint bark, or use just crushed candy canes for a more candy-focused flavor.
- Kosher Salt: Table salt works in place of kosher salt if that’s what you have on hand, just use a little less.

📓 Best served with
- Hot cocoa
- Peppermint tea
- Vanilla ice cream
- Eggnog
- A cup of coffee
- Whipped cream
👝 How to Store Extra Peppermint Bark Cookies
Keep them in an airtight container at room temperature for up to 5 days to maintain their freshness. If you want to keep them longer, you can freeze them! Place the cookies in a freezer-safe bag or container, making sure to separate layers with parchment paper to prevent sticking. They’ll stay fresh in the freezer for up to 3 months. When you’re ready to enjoy them again, just let them thaw at room temperature, and they’ll be as delicious as the first day you baked them!
🧠 Common Questions
Yes, you can prepare the dough ahead of time and chill it in the fridge for up to 60 minutes, or freeze the dough for longer storage. You can also freeze the baked cookies and thaw them when you’re ready to enjoy them.
Absolutely! If you don’t need a gluten-free option, you can use regular all-purpose flour instead of the gluten-free flour.
Yes! Simply swap the butter for vegan butter, and make sure your peppermint bark is dairy-free or use a peppermint candy and chocolate chip mixture as a substitute.
For perfectly round cookies, place the mouth of a drinking glass over each cookie while they’re still warm and gently swirl to shape them.
Definitely! You can add chocolate chips, white chocolate, or even crushed nuts like almonds or pecans to customize the cookies to your liking.
Peppermint Bark Cookies
Ingredients
- ½ cup unsalted butter, room temperature
- ½ cup granulated sugar
- ⅓ cup light brown sugar
- 1 egg, room temperature
- 2 teaspoons vanilla extract
- 1 ½ cup Gluten-free all purpose flour
- ½ teaspoon baking soda
- ½ teaspoon Kosher salt
- ¾ cup finely chopped peppermint bark
Instructions
- In the bowl of a stand mixer, mix the butter with the sugars on medium speed for about 2 minutes until lighter in texture.
- Add the egg and vanilla and continue to mix for about 30 seconds until combined.
- Add the flour, baking soda, and salt and mix on low until just combined.
- Using a spatula, fold in the chopped peppermint bark.
- Cover the bowl and chill in the refrigerator for 30 minutes.
- Line two baking sheets with parchment paper and preheat the oven to 350 Degrees F.
- Using a medium 2 tablespoon cookie scoop, transfer scoops of the dough onto the prepared baking sheets leaving about 3 inches between them to allow space for them to spread.
- Bake in the oven for 12-14 minutes until they are lightly browned and the edges have crisped up. They should still appear quite soft in the center.
- Out of the oven, place the mouth of a drinking glass over each cookie and swirl it around the make them perfect circles.
- Let the cookies cool on the baking sheet for 10 minutes before transferring to a baking rack to finish cooling.
- Serve, or freeze for later. Cookies will keep wrapped tightly at room temperature for up to 5 days.
Nutrition
Nutrition information is automatically calculated, so should only be used as an approximation.

The only baking I did for Christmas were the Peppermint cookies …. A HUGE hit thank you!! 🎄❤️
Oh Darlene, I love to hear it! SO glad this recipe was a hit!! xo, Kat
Hi Kat!
Your son is right! These are the best cookies ever! I love the trick to make them round with the mouth of a glass or cup. Brilliant! I can’t wait for your next cookbook.
Happy holidays!
Hi Andie! Aren’t they just totally delish?! So glad you enjoyed this recipe as much as my family! Happy New Year! xo, Kat
Please take the tray away from me before I eat them all! These are beyond delicious. I used the Lindt dark chocolate peppermint bark and it’s subtly sweet with just a hint of mint and just so so good. Make them immediately!
Carolyn!! I am so relating haha. Easy to eat the whole batch isnt it?! What a fab idea to use the Lindt dark choc Peppermint Bark- trying this next time!! Happy New Year my friend. xo ,Kat
Oops- it’s Ghirardelli dark peppermint bark! Just made them again, still insanely delicious.
Do I need to adjust any ingredients if I’m using AP flour? Can’t wait to try!
I’m sorry! I just read the notes! Head slap for not checking first!!
Haha, no Worries Stephanie! I hope you have a wonderful Holiday season! XO, Kat
Hi Stephanie! Nope! Hope you enjoy them! XO- Kat
I loved this recipe! Wonderful buttery, minty taste and so easy to make. I want to try with cocoa powder next. How much cocoa powder do you suggest? 🍪
Hi Jen! So glad you enjoyed!! Ohh good idea, hmmm maybe try a 1/2 cup- 1 cup? Can never have too much! XO, Kat
A holiday hit for my family! Thank you!
Hi Barbara,
I am so happy to hear your family loves these! Mine does as well!! XO, Kat
If you don’t have a stand mixer, will a regular hand mixer work?
Hi Janet~!
Yes, of course! You will just have to mix a tad longer. Good luck & I hope you enjoy!! XO, Kat
What brand and type of GF flour do you use for these? I find results vary so much with different all purpose GF flours.
I always turn to Bob’s Red Mill 1:1 GF flour!
So good would never know gluten free. I used Andes mints instead as that was on hand. Loved flattening with the bottom of the glass. Never used that trick before!
I totally believe that’s the way it should be with gluten-free baking – you shouldn’t have to miss out on deliciousness! I’m so glad you loved them!
Enjoy,
Kat.
These were so delicous and easy to make. Thank you!
You’re so welcome, Jenny!
Kat.