3-Ingredient Salted Caramel Sauce (Vegan, Refined Sugar Free)
Oct 05, 2023, Updated Apr 25, 2024
This post may contain affiliate links.
You’re about to dig into your favorite Fall dessert – a warm brownie, a scoop of vanilla ice cream, or a fresh apple slice… What’s missing?
This 3-Ingredient Salted Caramel sauce, that’s what!
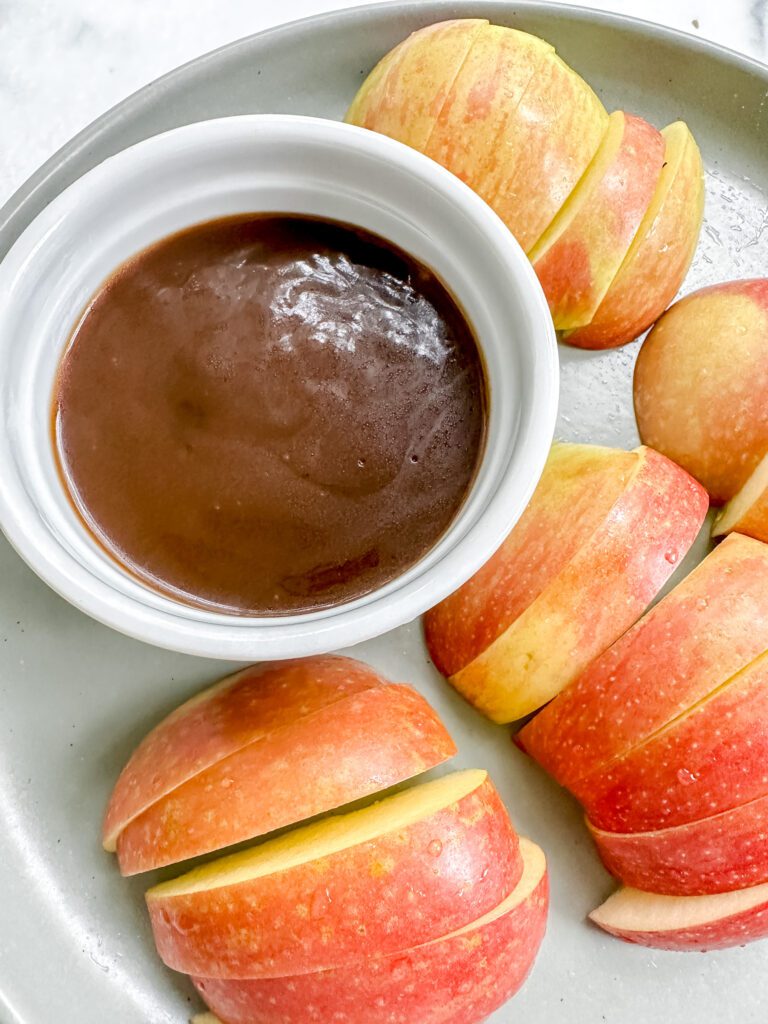
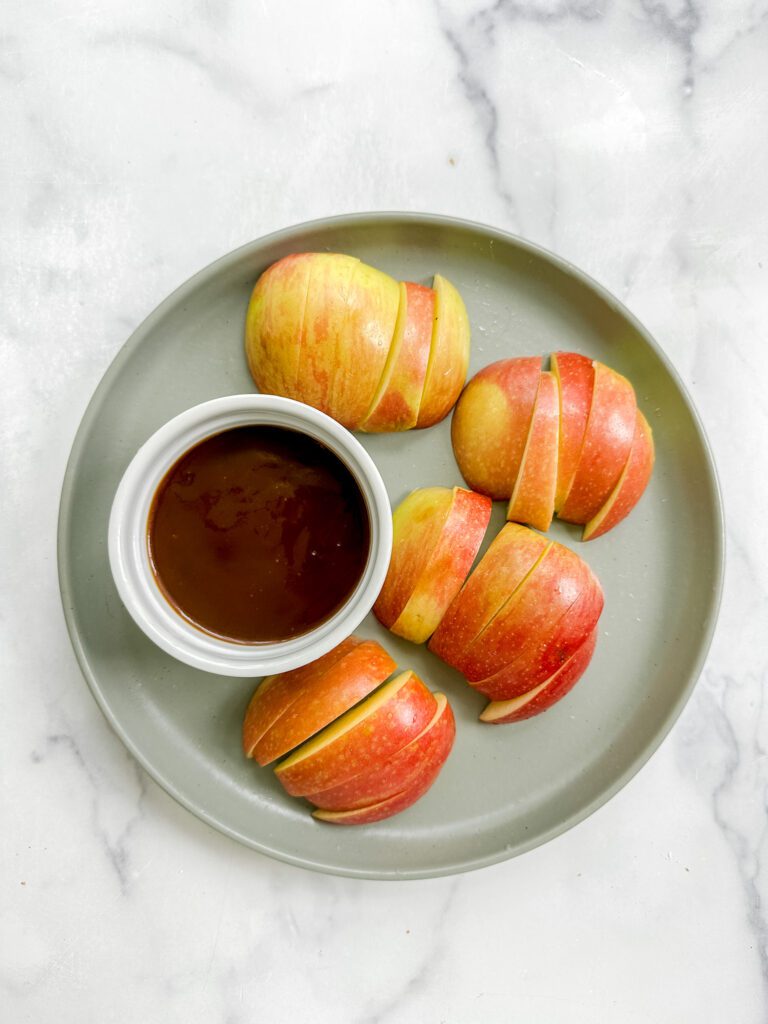
Sure, you could swing by the store and grab a bottle of caramel sauce that’s ready to go, but with just 3-ingredients and super simple steps, it would take you twice as long to get there and find the right aisle as it would to make this at home! It’s like adding a little extra love to your fall comfort foods, and just when you thought it couldn’t get any better, let me tell you: it’s vegan, refined sugar free and, most importantly, downright delicious. As it cools, it thickens into a velvety, dreamy consistency that’s perfect for pouring, drizzling, and dipping. I’ll be making this all Fall long!
Watch Me Make My 3-Ingredient Salted Caramel Sauce
If you’re in need of some more fall sweets and treats, be sure to follow me on Facebook, or see all of my favorites (and so many other delicious recipes!) over on Pinterest.
How To Make My 3-Ingredient Salted Caramel Sauce
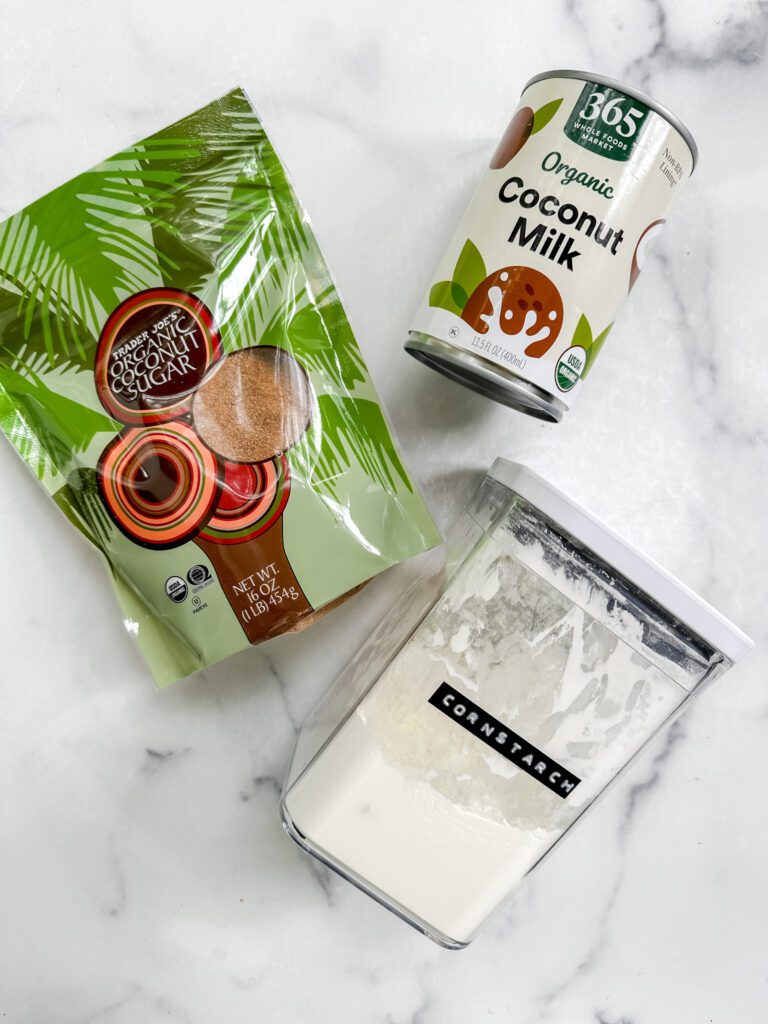
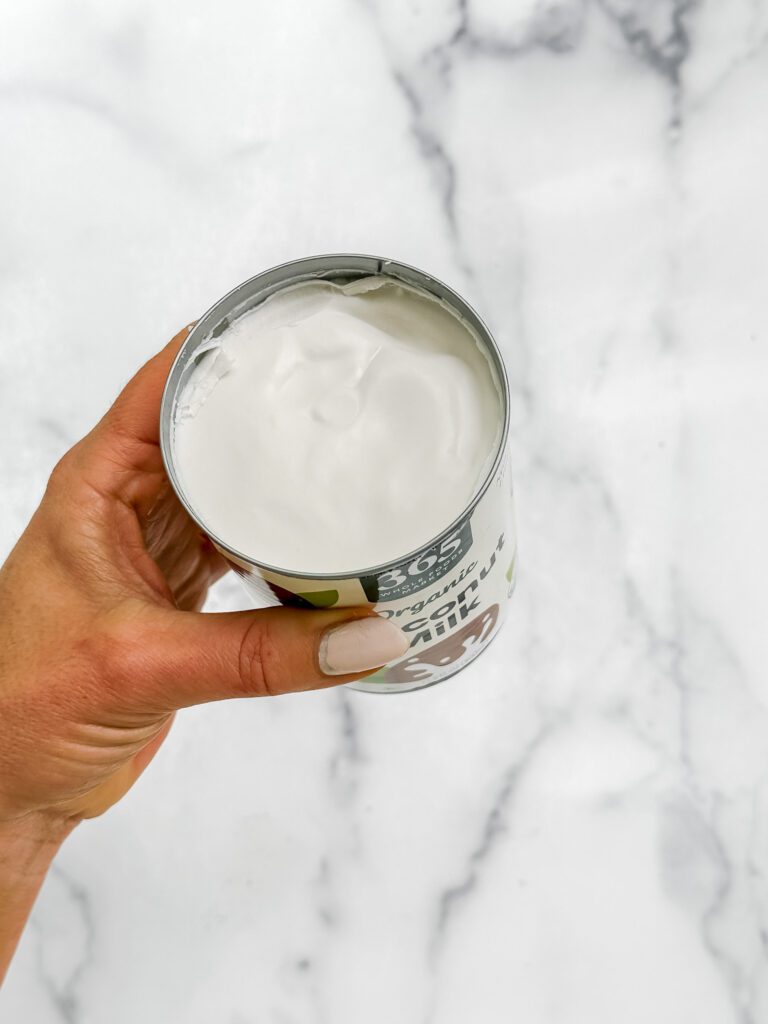
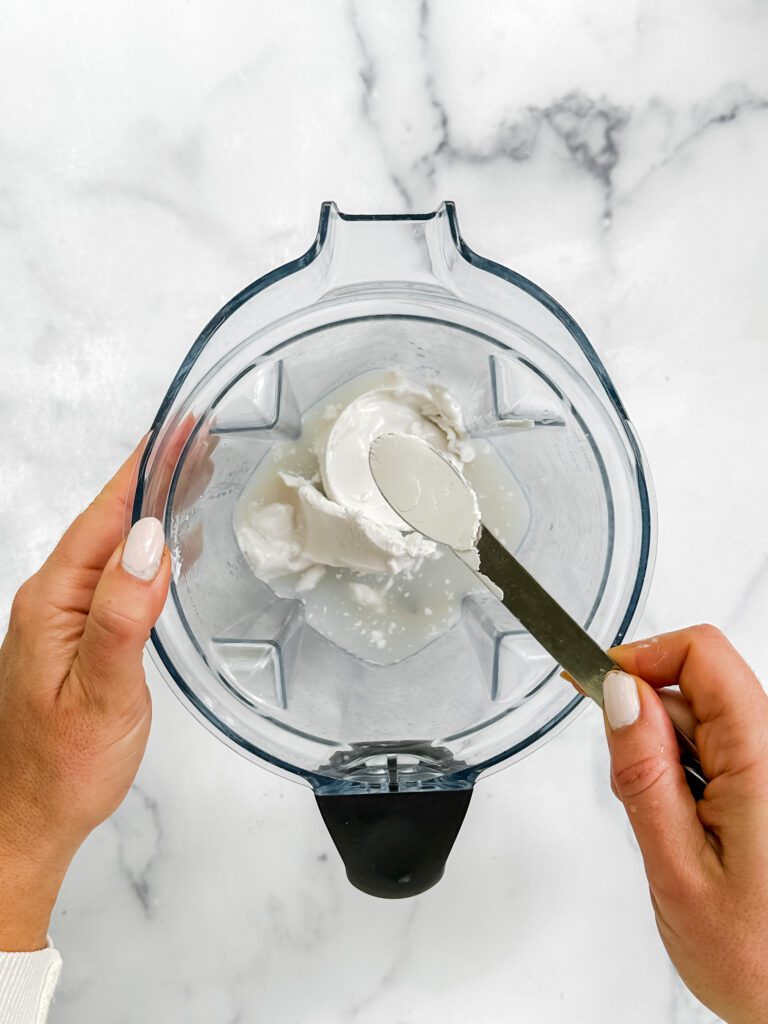
Step 1. In a blender, combine the coconut milk (both the liquid and the cream on top) and cornstarch. Blend for 20 seconds or until smooth.
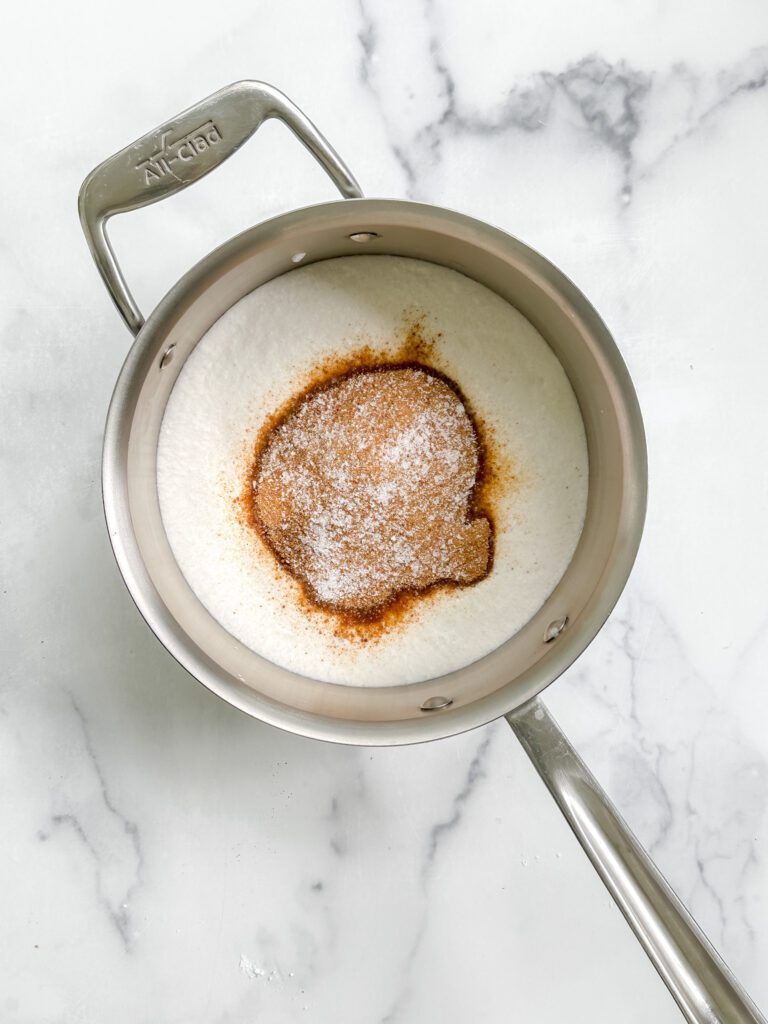
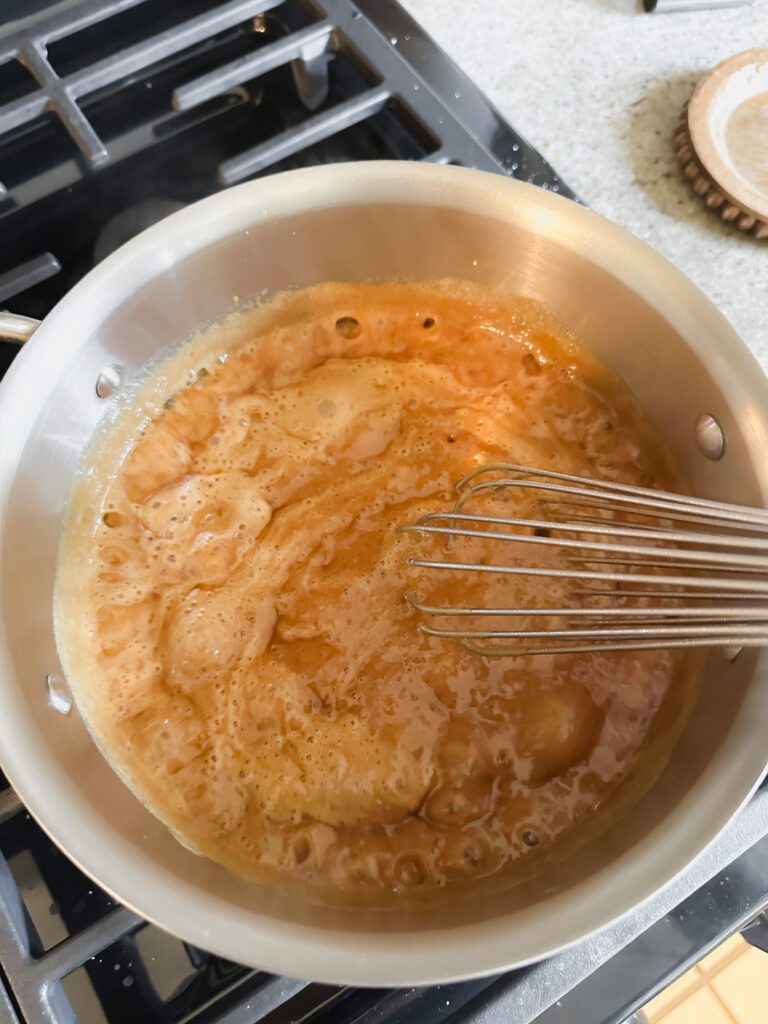
Step 2. To a medium saucepan, add the coconut milk mixture along with the coconut sugar and salt and bring to a boil over medium-high heat.
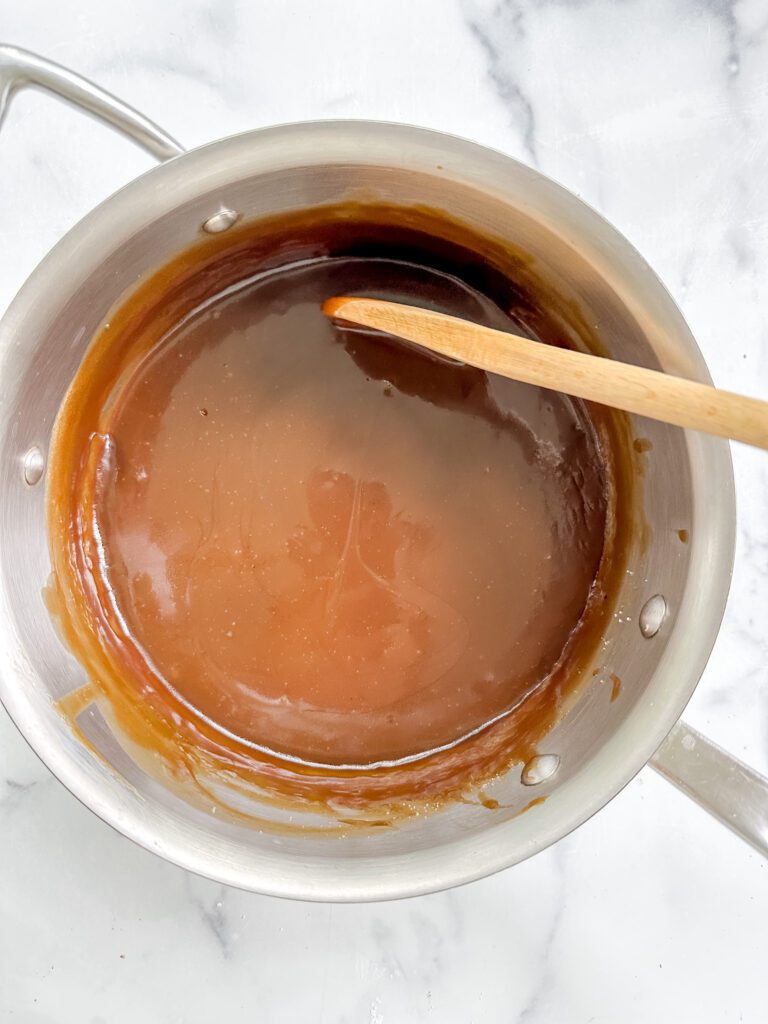
Step 3. Reduce to a simmer and cook the sauce for about 30 minutes, stirring every few minutes to prevent the sugars from burning and incorporate the caramelized bits into the sauce.
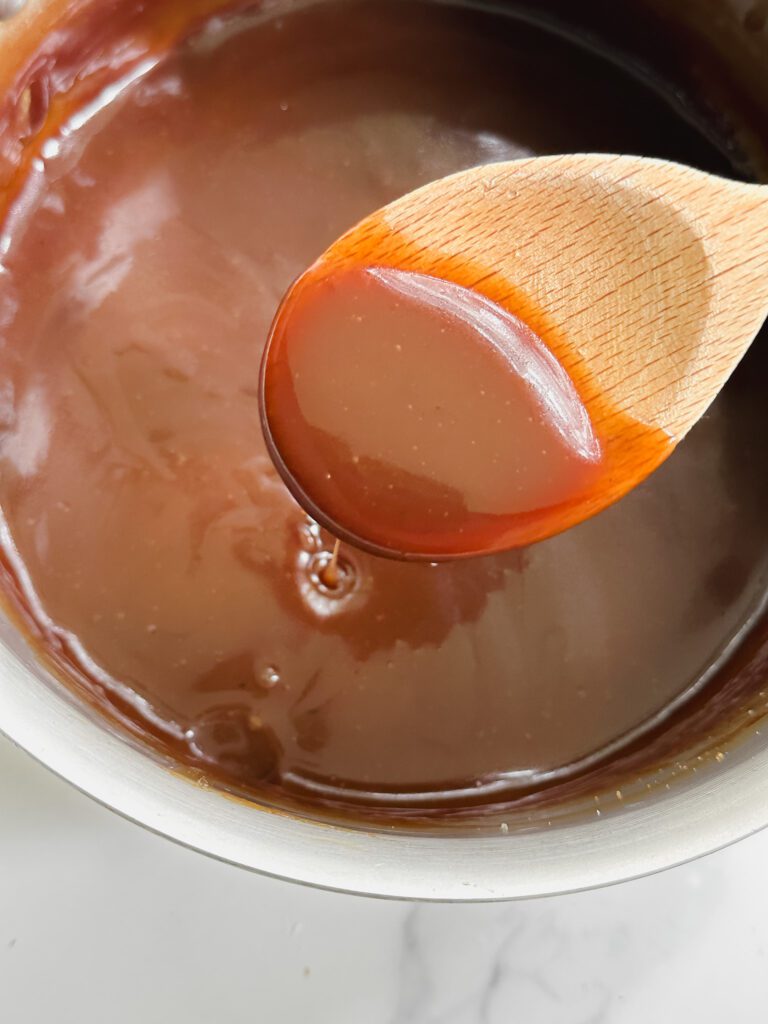
Step 4. When it’s done, it should easily coat the back of a spoon, and will continue to thicken up a bit as it cools.
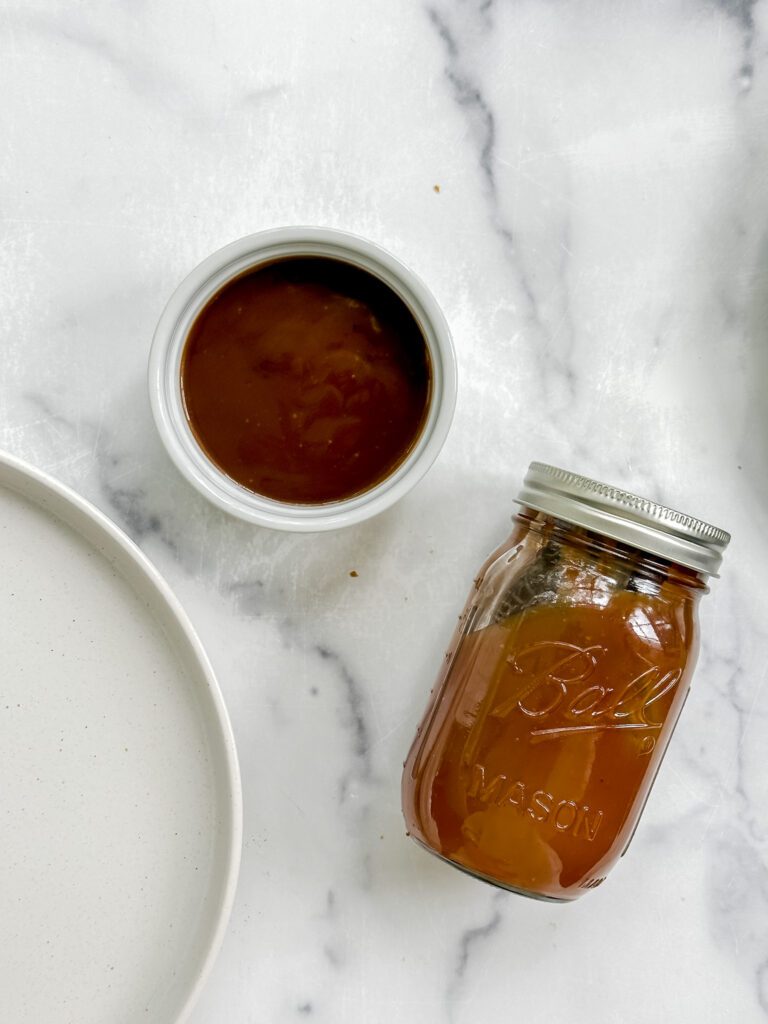
Step 5. Serve with sliced apples, drizzled over cakes or ice cream or refrigerate until ready to serve. The sauce will keep for up to 2 weeks in the refrigerator.
Step 6. Enjoy!
What Else Can I Use?
- I do not recommend a light coconut milk in this recipe, the coconut cream in the full-fat is necessary for both richness and viscosity.
- You can add a bit of vanilla extract for a vanilla flavor, which pairs beautifully with the sauce.
- If you don’t care for the saltiness of salted caramel, simply omit the salt.
- I haven’t tested this with brown sugar, but I will bet it works just great as a substitute for coconut sugar.
- If you prefer to keep this recipe paleo, use 1 tablespoon of tapioca or arrowroot starch in place of the cornstarch.

This 3-Ingredient Salted Caramel Sauce is special because:
The name says it all – it’s just 3 ingredients!
It lasts up to 2 weeks in the fridge and makes for the perfect gift for a housewarming or dinner hosts.
Apple-Picking Season Must Makes
Cardamom Apple Crisp (Vegan, Gluten Free, Dairy Free, Refined Sugar Free)
Slow Cooker Apple Pie Oatmeal (Vegan, Gluten Free)
Harvest Bowl Salad With Apple Cider Vinaigrette
Everyday Apple Tart (Gluten-Free)
If you make my 3-Ingredient Salted Caramel Sauce, and I hope you do, please leave me a comment here and rate the recipe. Your feedback means a lot to me! You can also post to Instagram and tag me so I can share your creations!
If you like full recipe videos, you’ll want to follow me on Facebook and Youtube as I publish new videos daily!

3-Ingredient Salted Caramel Sauce (Vegan, Refined Sugar Free)
Ingredients
- 1 13.5 ounce can full-fat coconut milk
- 2 teaspoons cornstarch
- 1 cup coconut sugar
- 1 teaspoon Kosher salt
Instructions
- In a blender, combine the coconut milk (both the liquid and the cream on top) and cornstarch. Blend for 20 seconds or until smooth.
- To a medium saucepan, add the coconut milk mixture along with the coconut sugar and salt and bring to a boil over medium-high heat.
- Reduce to a simmer and cook the sauce for about 30 minutes, stirring every few minutes to prevent the sugars from burning and incorporate the caramelized bits into the sauce.
- When it’s done, It should easily coat the back of a spoon, and will continue to thicken up a bit as it cools.
- Serve with sliced apples, drizzled over cakes or ice cream or refrigerate until ready to serve. The sauce will keep for up to 2 weeks in the refrigerator.
- Enjoy!
Nutrition
Nutrition information is automatically calculated, so should only be used as an approximation.
Is it 36 calories for the entire 1.5 cups?
Per serving, which I’ve estimated a serving at roughly 100g!
Let me know if you give it a try!
Kat.