This post may contain affiliate links.
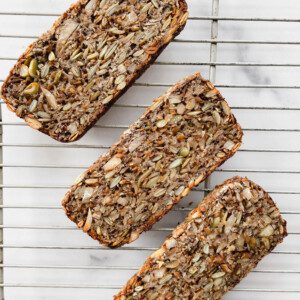
This. Bread.
It’s dense, chewy, incredibly hearty, filled with lots of fiber and protein, and is gluten free and vegan to boot. It’s also so easy to make, and really fun to do so.
This recipe comes from Josey Baker at The Mill in San Francisco, an excellent bakery with a cult like following and lines regularly out the door and around the corner. The bread is that good.
In describing this bread, which is reminiscent of the traditional, dense, seeded breads you’ll find in countries like Denmark and Germany, Baker says “I had been mostly turned off by gluten-free breads, since it seemed like they were all trying to imitate wheat breads, and failing miserably. But this bread stands on its own…”.
That is putting it mildly. It’s a marvel.
Table of Contents
- How To Make Josey Baker’s Adventure Bread:
- What Else Can I Use?
- This Adventure Bread is Special Because:
- Check Out These Other Gluten Free Baked Good Recipes:
- Josey Baker’s Adventure Bread (Gluten-Free, Vegan) Recipe
- Roasted Carrot + Avocado Salad with Yogurt + Citrus Vinaigrette (Vegetarian, Gluten-Free. Inspired by ABC Kitchen) Recipe
How To Make Josey Baker’s Adventure Bread:
Step 1. Mix dry and wet ingredients well in a large mixing bowl.
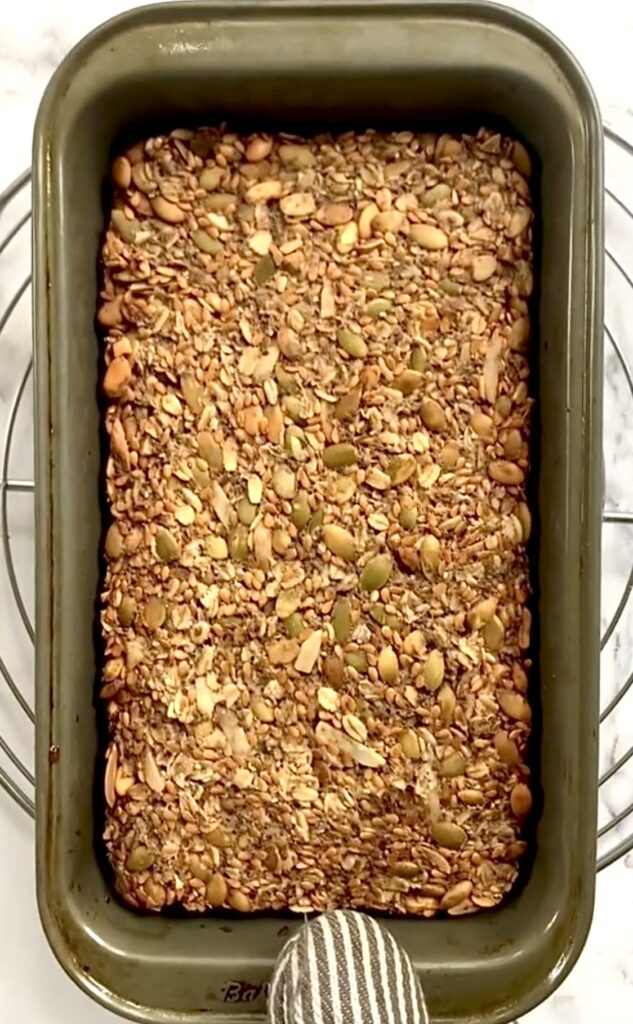
Step 2. Pack into a loaf pan and spread the top.
Step 3. Cover and refrigerate for 6-12 hours.
Step 4. Remove from the refrigerator and bring to room temperature.
Step 5: Bake. Baker calls for a 350 Degree F. oven, but I like 400 Degrees F. This gets me a more browned exterior, which I personally prefer. Feel free to use either temp.
Step 6: Let cool completely and enjoy.
What Else Can I Use?
- You know that I love to think of ingredients as merely a suggestion. While much of this bread is versatile, that is not the case with the psyllium husks here, they are essential. Most grocery stores carry them, and you can order them easily online. Both the husks and powder will work in this recipe, I tend to use this powder.
- Try using hazelnuts instead of or in addition to the almonds
- Feel free to use either sunflower or pumpkin seeds, instead of both.
- No maple syrup? Use honey.
- For a sugar-free version, substitute maple syrup with a pinch of stevia.
This Adventure Bread is Special Because:
This bread is gluten free and vegan, containing no flour at all and instead relying on psyllium husks to bind it all together.
It is browned and crunchy on the outside and dense and chewy inside making for a wonderfully satisfying bite.
It is SO simple to make, and uses just your hands, a spoon, and a bowl. No kneading, and no mixers required.
It freezes extremely well. I always slice the whole loaf up into 16 thin slices and freeze it, throwing a slice in the toaster whenever the urge strikes.
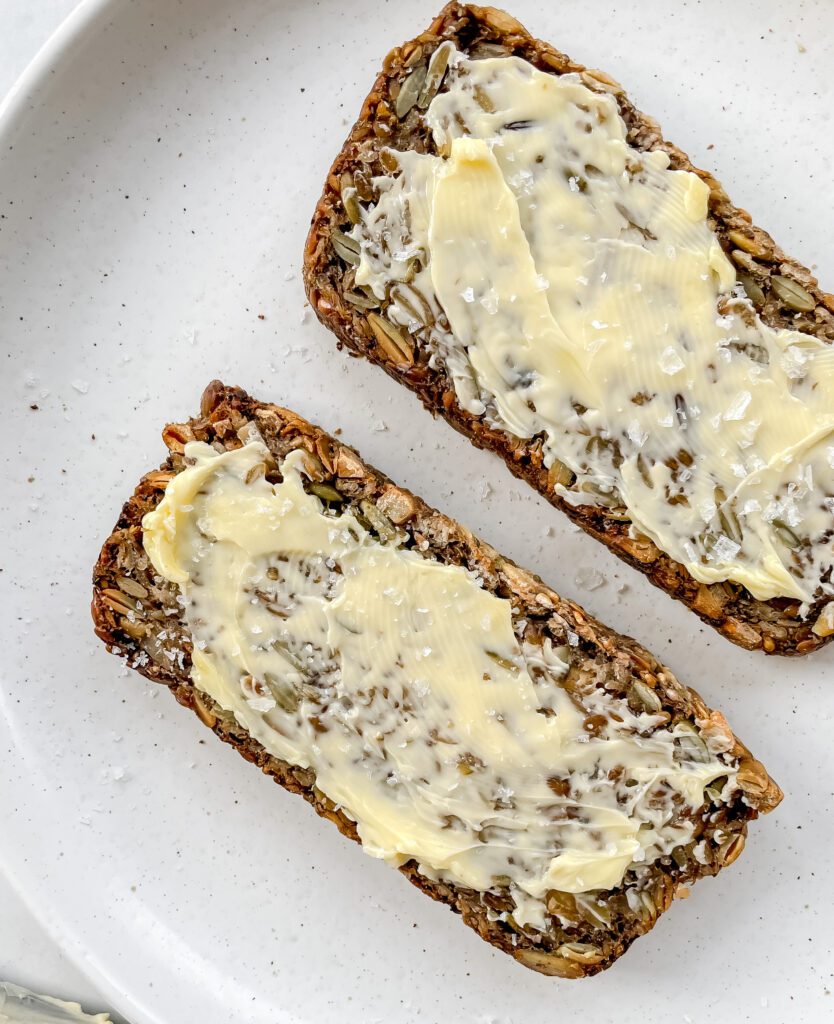
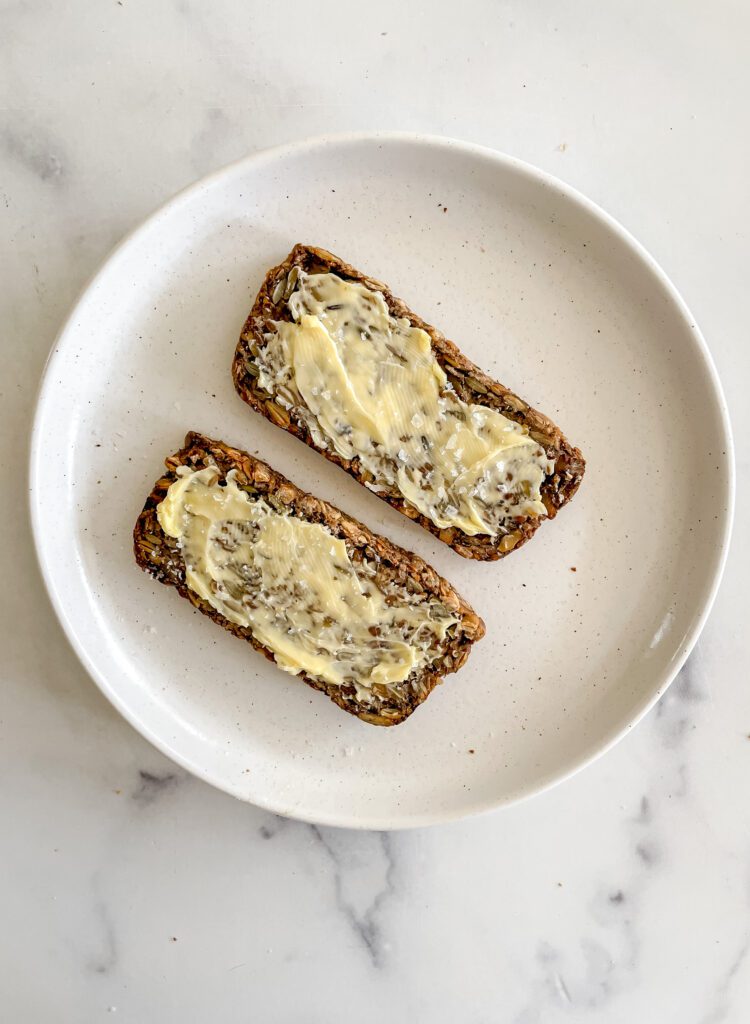
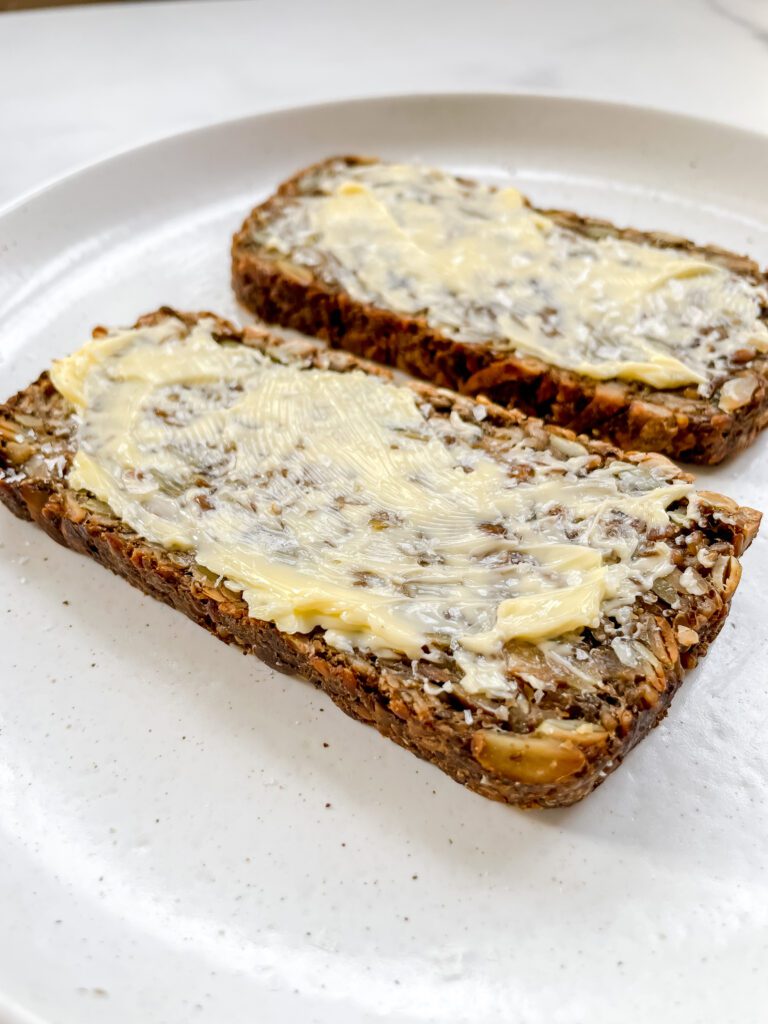
I most often eat this bread with good butter and flaky Maldon sea salt, but it makes a superb avocado toast and open face fried egg sandwich with a little mayo and arugula.
Check Out These Other Gluten Free Baked Good Recipes:
Company Cranberry Almond Bundt Cake
If you make this Adventure Bread, and I hope you do, please leave me a comment here and rate the recipe. Your feedback means a lot to me! You can also post to Instagram and tag me so I can share your creations!
Josey Baker’s Adventure Bread (Gluten-Free, Vegan)
Equipment
- 1 8×4 inch loaf pan you can use a 9×4 as well, the loaf will just be shorter like mine
Ingredients
- 2 1/4 cups old fashioned rolled oats
- 1 cup sunflower seeds, toasted
- 1/2 cup pumpkin seeds, toasted
- 3/4 cups almonds, toasted and coarsely chopped
- 3/4 cup flax seeds
- 1/3 cup psyllium seed husks
- 3 tbsp chia seeds
- 2 tsp fine sea salt
- 2 tbsp maple syrup
- 1/4 cup olive oil
- 2 1/2 cups room temperature water
Instructions
- Coat bread loaf pan with olive oil or a nonstick spray. Set aside.
- In a very large mixing bowl, combine all dry ingredients and mix to combine.
- Add maple syrup, olive oil, and water and mix together thoroughly. I use my hands to do this, ensuring it's all very combined and the dry ingredients are evenly distributed. This is what Baker does, and well, who am I to debate?
- Spoon mixture into your loaf pan and smooth out the top with a rubber spatula or wooden spoon.
- Cover loosely with a clean dish towel and refrigerate for 6-24 hours. I usually do this overnight and bake off in the morning.
- An hour before it's time to bake, pull the bread out of the refrigerator and let it come to room temperature.
- Make sure there is a middle rack in the oven and preheat to 400 degrees F.
- Bake the bread for 60 minutes or so, until nicely browned and cooked through.
- Remove from the oven, let cool in the pan for 10 minutes, then invert onto a cooling rack to cool completely for 2 hours. Yes, 2 hours.. this is a DENSE bread.
- I like this sliced very thin, so toast and eat right away or slice it all up and freeze it so you have beautiful seeded bread anytime you please.
Nutrition
Nutrition information is automatically calculated, so should only be used as an approximation.
Roasted Carrot + Avocado Salad with Yogurt + Citrus Vinaigrette (Vegetarian, Gluten-Free) Inspired by ABC Kitchen
Equipment
- 1 large, rimmed sheet pan
Ingredients
- 1 lb. carrots, peeled and cut into 3 inch segments
- 2 garlic cloves
- 1 shallot, sliced thin
- 1 tbsp fresh thyme leaves
- 1/4 tsp ground coriander
- Kosher salt
- Freshly cracked black pepper
- 1 large avocado, peeled and cut into wedges
- 3 cups mixed baby greens
- 1/3 cup extra virgin olive oil
- 1 large orange
- 1 large lemon
- 1 tbsp red wine vinegar
- 1 tsp red pepper flakes
- 1 tsp honey
- 1/2 cup full fat plain Greek yogurt
- 2 tbsp toasted sunflower seeds
- 2 tbsp toasted sesame seeds
Instructions
- Preheat the oven to 450 degrees F.
- On a large sheet pan, mix together the carrots, 1 clove garlic, shallot, juice from 1/2 the orange, thyme, red pepper flakes, 1 Tablespoon olive oil, coriander, 1 teaspoon salt, and 1/4 teaspoon black pepper.
- Roast for 20 minutes until tender, then let cool to room temperature.
- While the carrots are roasting, make the dressing.
Dressing:
- In a glass jar with lid, combine 1 clove garlic, red wine vinegar, juice and zest from the other half of the orange and the full lemon, honey, olive oil, a large pinch of salt and pepper.
- Shake vigorously to combine.
Compose Salad:
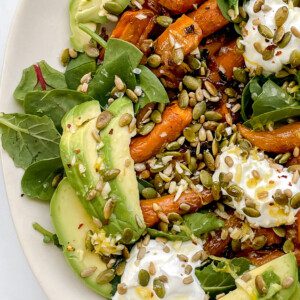
- On a serving platter, spoon the roasted carrots into the center of the platter.
- Place handfuls of the mixed greens and avocado slices around the carrots, then evenly spoon the yogurt on top.
- Top with the sunflower and sesame seeds and drizzle with as much of the dressing as you'd like.
- Enjoy!
Nutrition
Nutrition information is automatically calculated, so should only be used as an approximation.
This bread is the BOMB!!! Absolutely delish! Making my second loaf today. I slice and put it in the freezer and pull it out as needed. This is for sure a keeper, thank you for sharing!!!! I might just try to make a sweet version🤞🏻. One thing I did notice, it does take the entire 60 mins to cook. I took mine out at about 50 mins because it was looking so brown, but it could have used the extra 10 mins. Also, I did not wait the two hours to try it, what, are you kidding me, wait 2 hours, no way!
thanks again for sharing
Debbie,
It is hard to wait, isn’t it? : )
So happy you love it!
Kat
Cannot wait to try this!! Silly question…is the nutrition for the loaf for 1/16 of the loaf?!
The nutritional info is for 1/16 of the loaf. It’s a very dense bread.
I hope you enjoy it, Jen!
Kat
Made it twice so far. LOVE IT! Whole family does too. This time I made two: savory & sweet. Tart cherries, cinnamon and vanilla to the one was added and dried garlic flakes, sun dried tomatoes and spices to the other. SOOOOOOO GOOOD!
Elizabeth,
I love the idea of using sun dried tomatoes in here! I make a sweeter version with dried cherries as well, it’s a really versatile recipe.
Kat
Super super super delicious and made the house smell wonderful. Glad I made a double batch and will be making this again!
Liz,
So glad you loved it!
It’s such a staple in my house.
Kat.